Make sure iSense bracket is aligned with iPad Camera
Make Sure data cable is connected to iSense 3D Scanner and to the iPad
Open the iSense app
Step 2: Preparing Object for Scanning
Place your object on the ground, stool, or another clean surface with enough space to walk around it
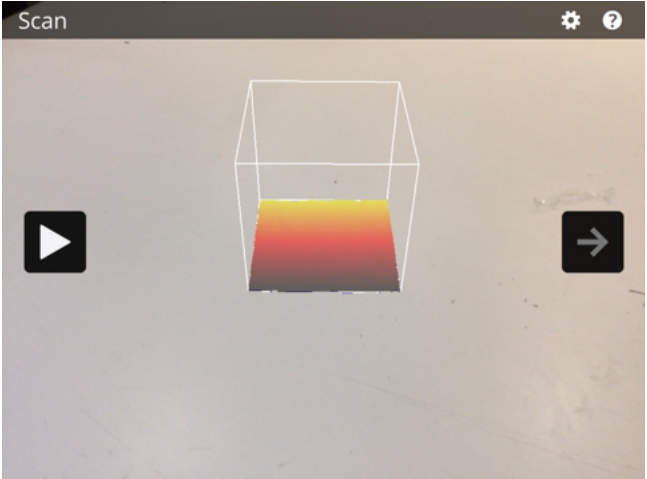
Position your object inside the white frame box on the screen. You can also scale the size of the box by pinching 2 fingers together or spreading 2 fingers apart
Step 3: Scanning
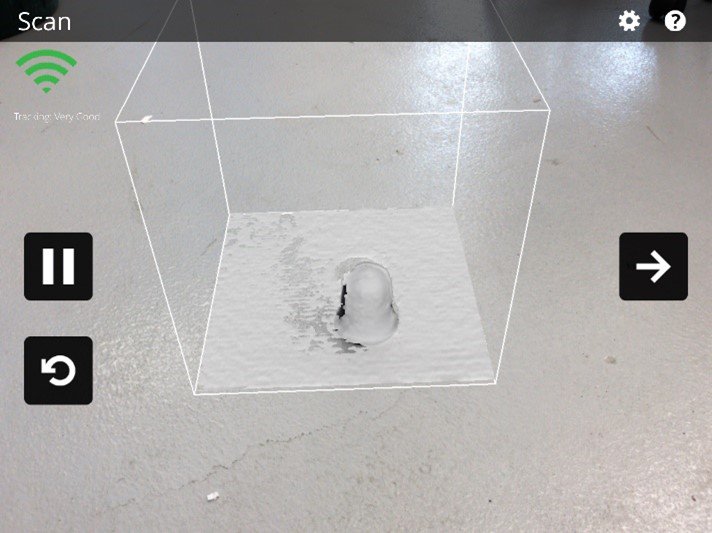
Once your object is in place press the play button, which is located on the left of the screen
Slowly walk around the object, ensuring that the camera covers all the surface
Continue to circle sometimes moving the camera higher or lower until the object is completely covered
Finish by pressing the → (next arrow)
Step 4: Editing
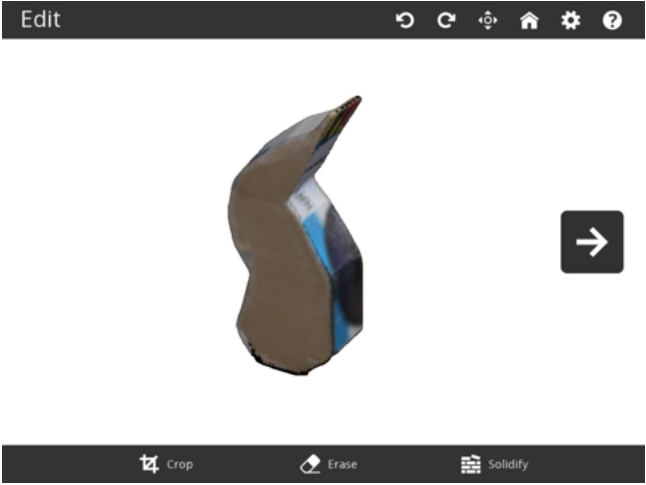
Use the editing buttons at the bottom of the screen to crop / trim / fix the file. Use 2 fingers to rotate, move and zoom the object on the screen
When you finish editing press “Solidify” to fill any holes in the model (This insures a more successful print)
Step 5: Saving
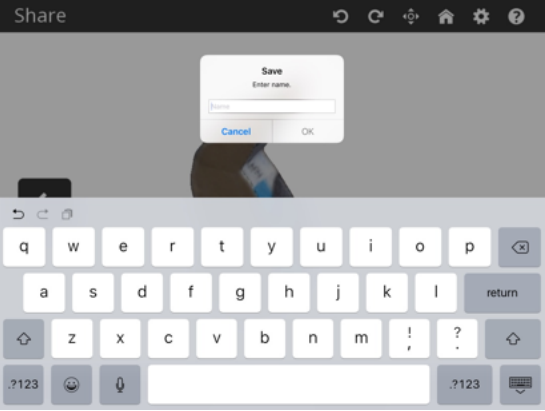
When editing is finished press save and name the file something you can easily remember
If you want to continue scanning more press the home button
If you are done scanning connect the iPad into your computer
Step 6: Exporting
Open iTunes
Make sure the iPad is unlocked and select trust on the pop up that will appear when plugged into the computer
Select the iPad symbol in the top left of the screen
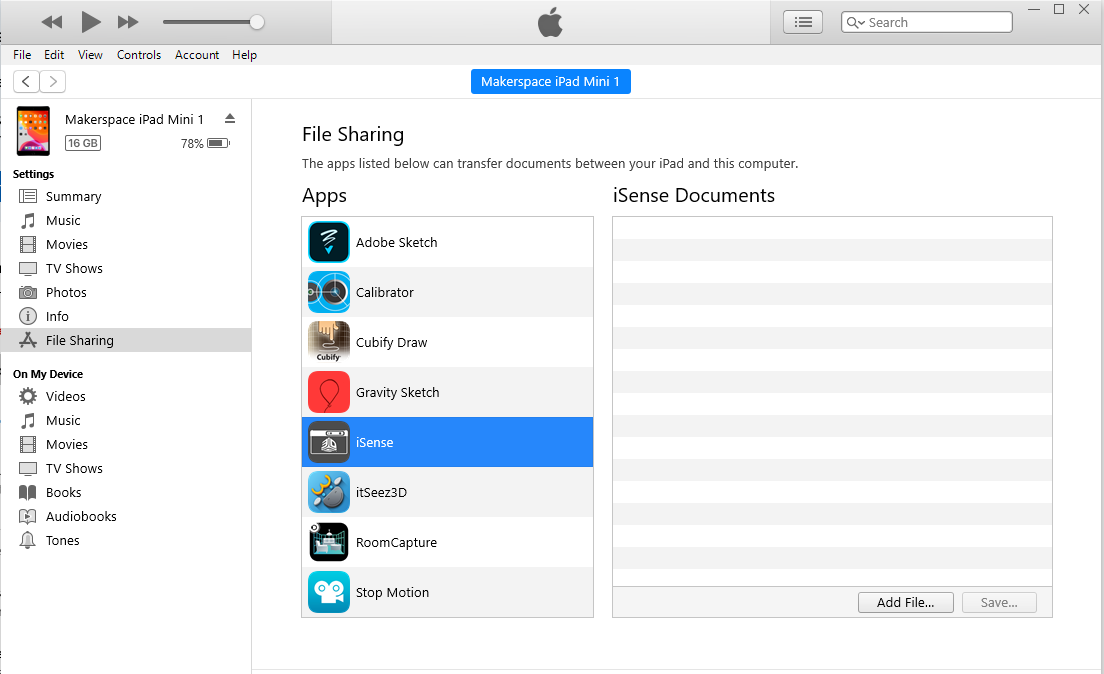
Select File Sharing from the list on the left side and then the iSense app
Select your file from the list and press the “save to” button in the bottom right corner
Save the file in your desired location of the computer