The Making Centre

Photo Printing Preparation

How to prepare a photo for large scale photographic printing

This is a step by step guide on how to proccess an image to prepare it for photographic printing in the Makerspace. This guide does apply to the industry standard for printing as well so it can be used for a majority of printers.

If you have any questions about the proccess or just want some help come in and chat to The Makerspace staff or email us and we can direct you on how to get started with your project.

PhotoPrintingSetup_1
  1. Create a new ‘print’ document in Photoshop
  • Set the correct dimensions and resolution for your print job
  • Ensure the colour mode is RGB at colour depth of either 8-bit or 16-bit that matches your image
  • Set background to white for white bordered prints
  • In ‘Advanced options’: Set colour profile to Adobe RGB (1998)

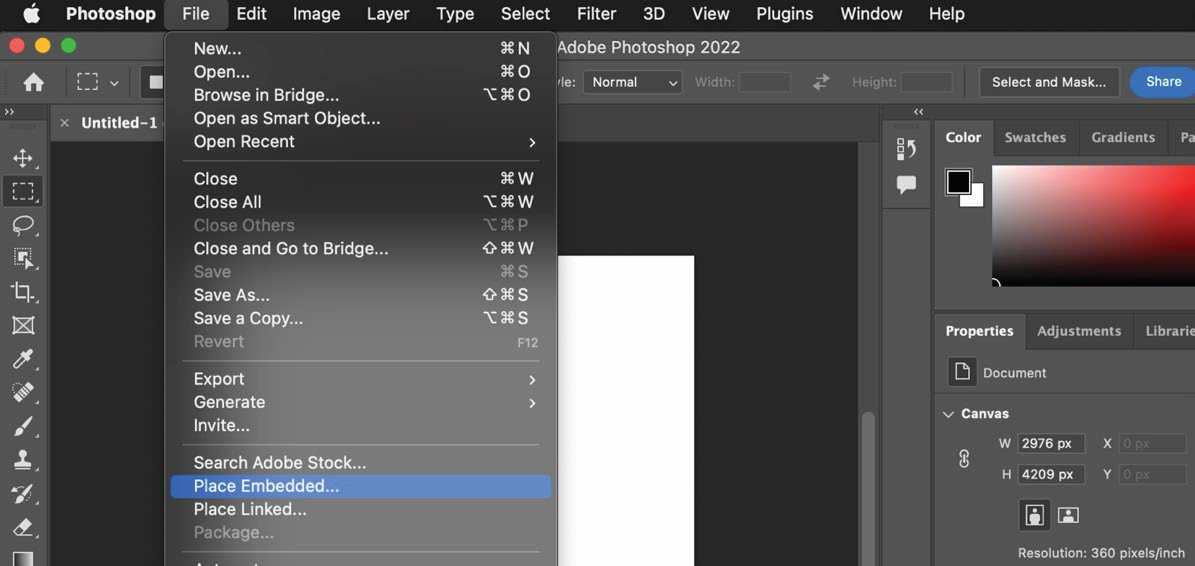
In the new document, ‘place embedded’ your final edited image file

  • Set image dimensions by manual input, or free-scaling
  • Position image as required
  • Press ‘enter’ key to place image
PhotoPrintingSetup_2 PhotoPrintingSetup_2_2
PhotoPrintingSetup_3 PhotoPrintingSetup_3_2 PhotoPrintingSetup_3_3

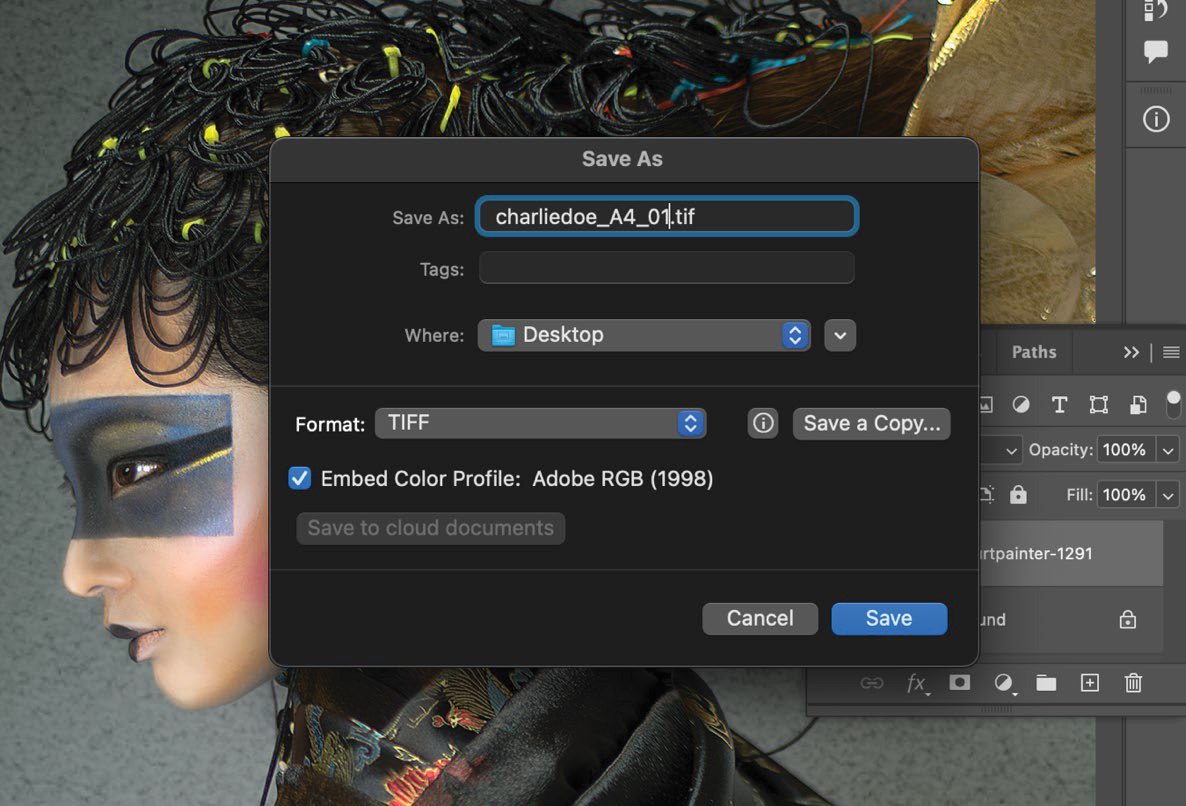
Save document for printing

  • Flatten image layers
  • Save As…’ TIFF (.tif)
  • Recommended naming convention for file ‘yourname_printsize_number’. Eg ‘charliedoe_A4_01.tif’
  • Upload file for printing


Now you can Save your TIFF (.tif) file and upload it here to get it printed in the Makerspace

or for more optional editing tips look below

OPTIONAL PRINTING TIPS

  • In order for details in shadows to print well, the R, G, B readings should be >20s
  • For bright white backgrounds, the R, G, B readings should be between 240 to 255
  • For neutral colours and true greys, the R, G, B readings should be similar values
  • Quick fix: Adjust image levels at the mid tones from between 1.05 to 1.10 before sending to print
PhotoPrintingSetup_Optional PhotoPrintingSetup_Optional2