UNSW Making

Grasshopper for Fabrication

Tips and tricks to creating usable files in grasshopper to CNC, 3D Print and Laser Cut

Digital fabrication is the process of using digital design tools to create physical objects through automated manufacturing techniques such as CNC machining, laser cutting, 3D printing, and more. Grasshopper, a visual programming language plugin for Rhinoceros 3D, can be used to create complex geometries for digital fabrication.

This learn module assumes you already have a file completed in grasshopper. If you need help with using Grasshopper you can check out our Grasshopper Basics Learn Module.

In this module we will explain the steps required to prepare your files for various digital fabrication applications.

Baking Back to Rhino

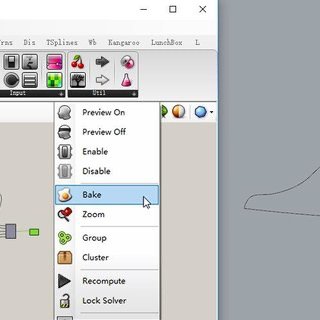
What is Baking? “Bake” in grasshopper is a tool that allows you to take the geometry that you have been working on in grasshopper and permanently move it to Rhino. Normally this is when you have finished what you are doing in grasshopper and are ready to fabricate or render. This can be done by right-clicking on the geometry component you wish to bake and clicking on the egg symbol that says “BAKE”. Once you have selected this a pop-up will come up and ask which layer you would like to bake onto. If you are working with a range of layers and different geometries make sure to select the right one!

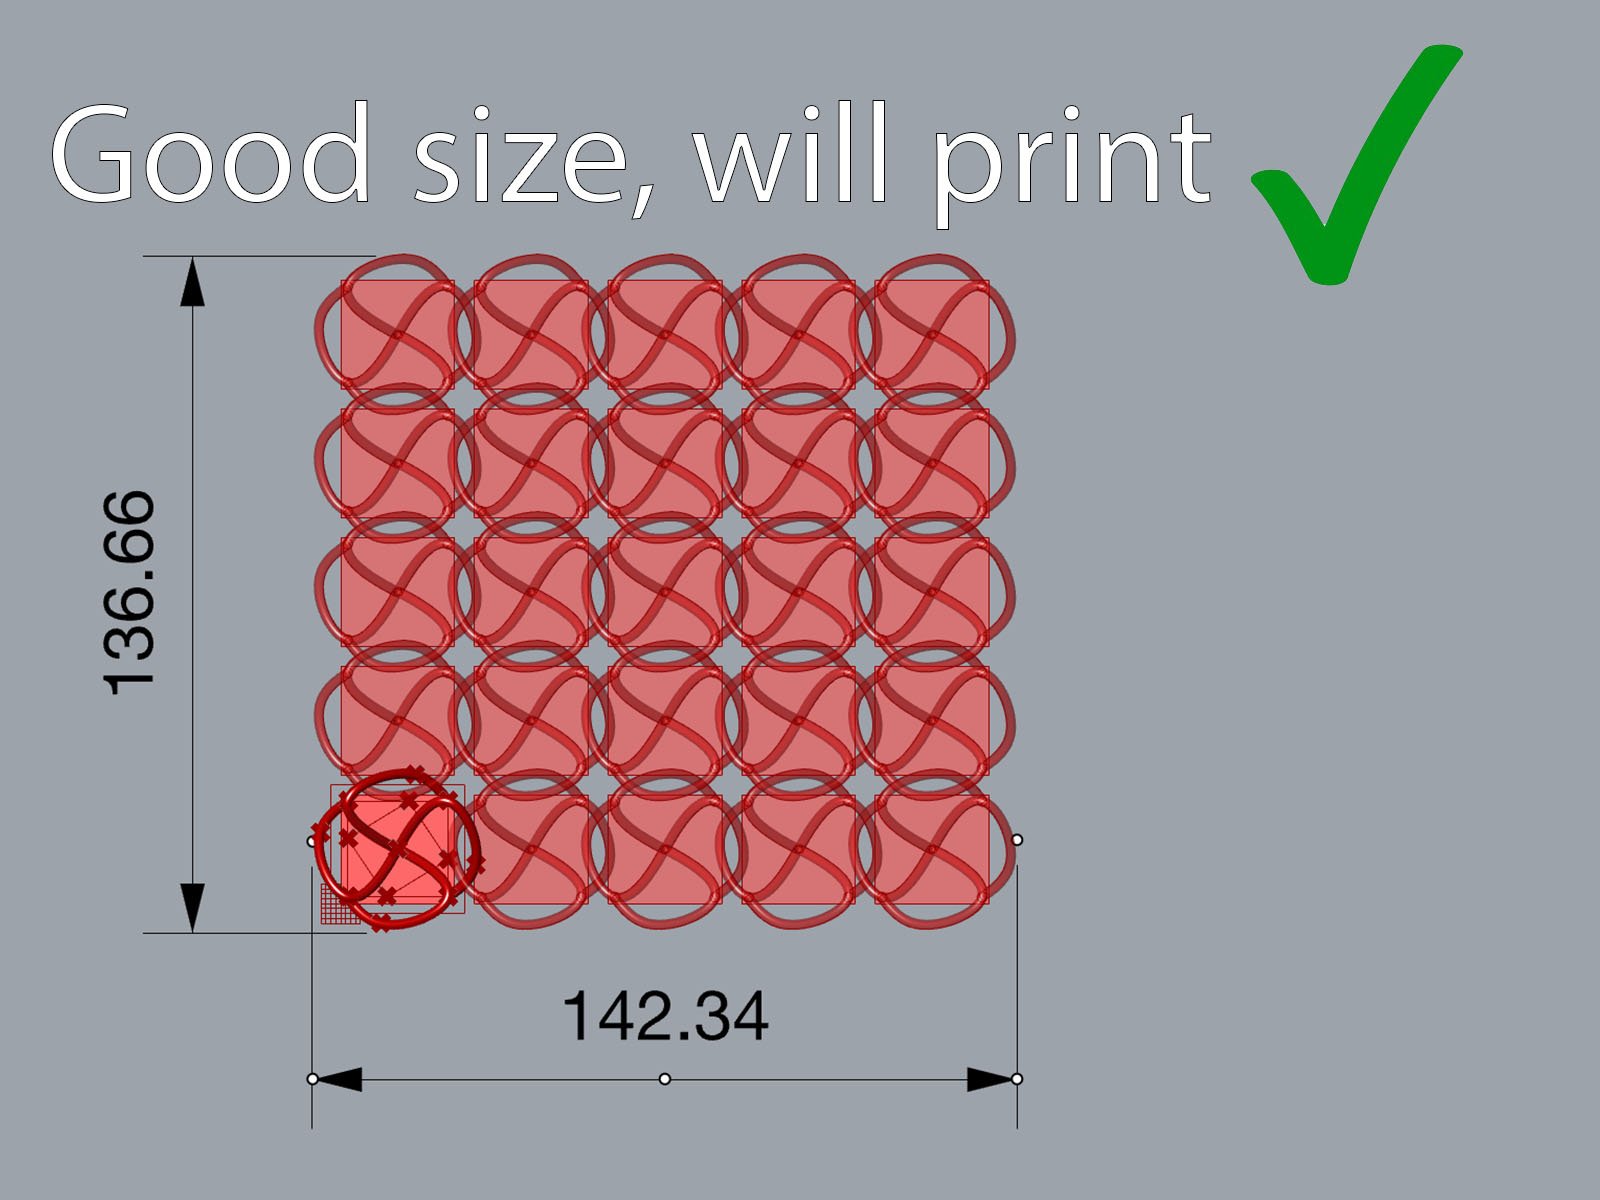
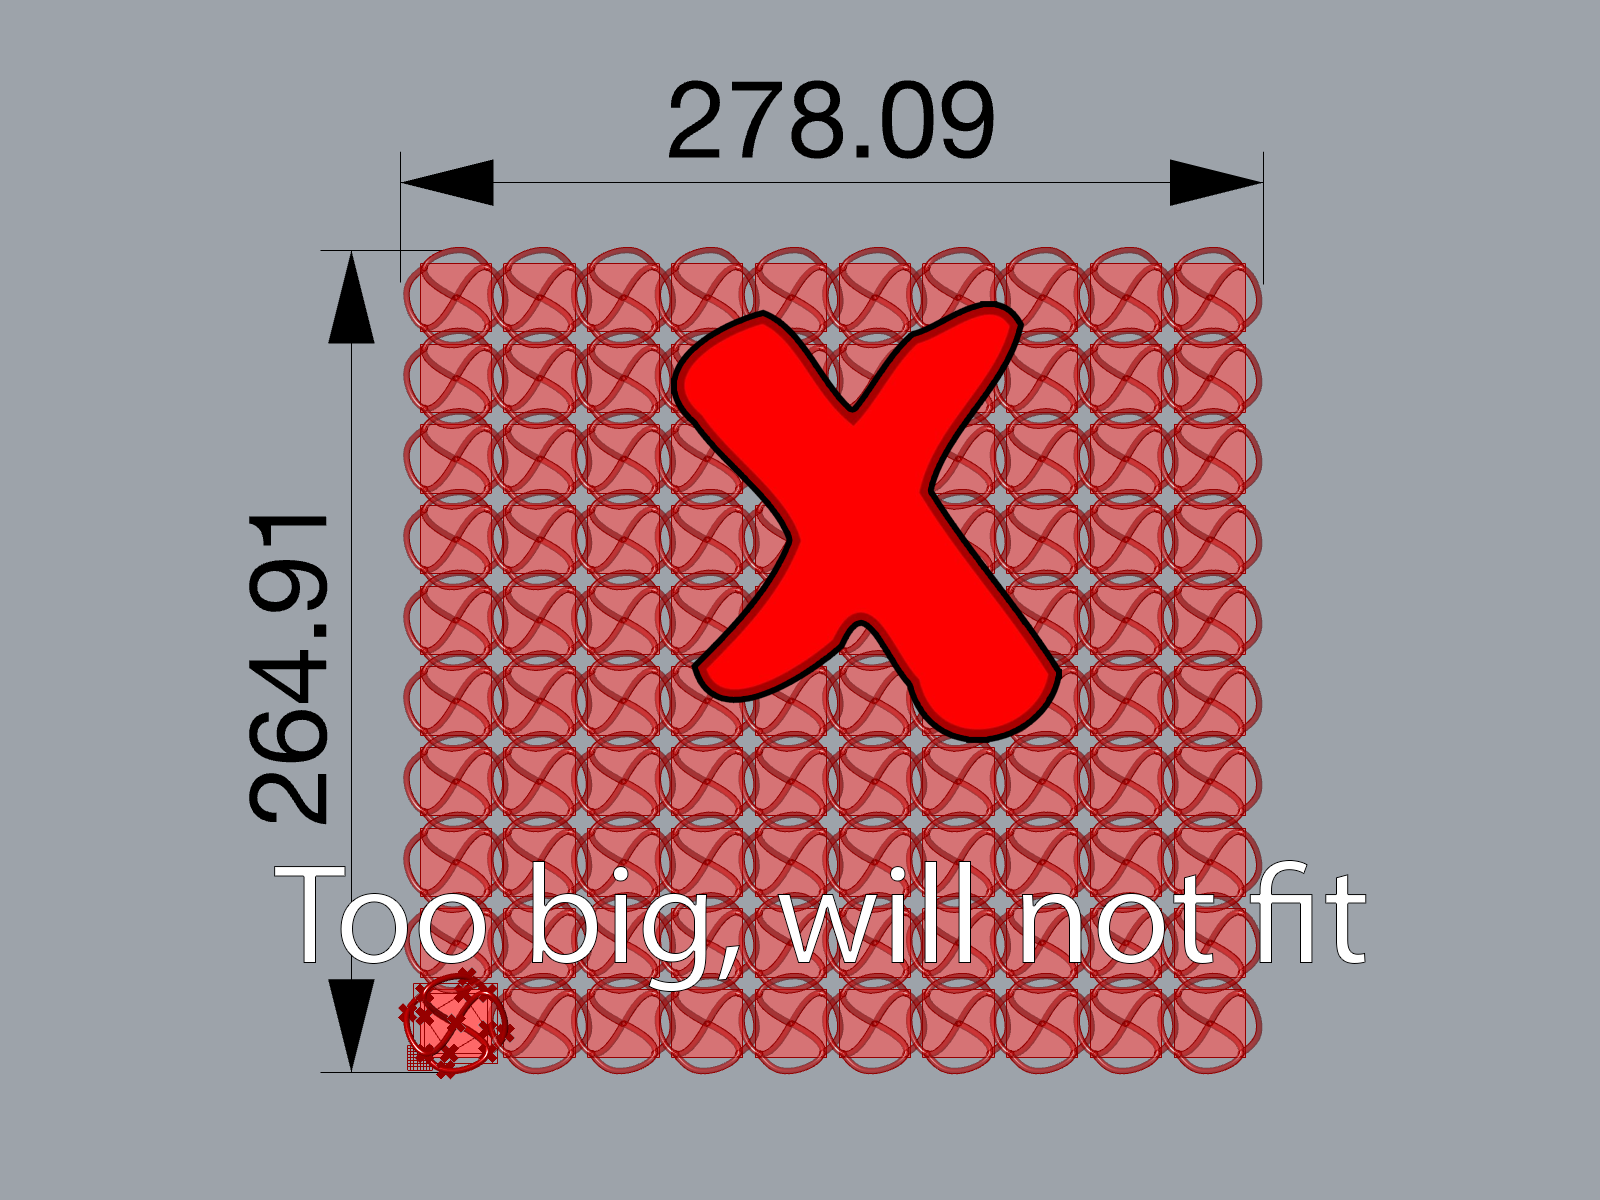
*Tip: You can bake your geometry straight into our Laser Cutting templates and automatically assign curves into the cut or score layers!

Bake command

Baking Tips for Laser Cutting

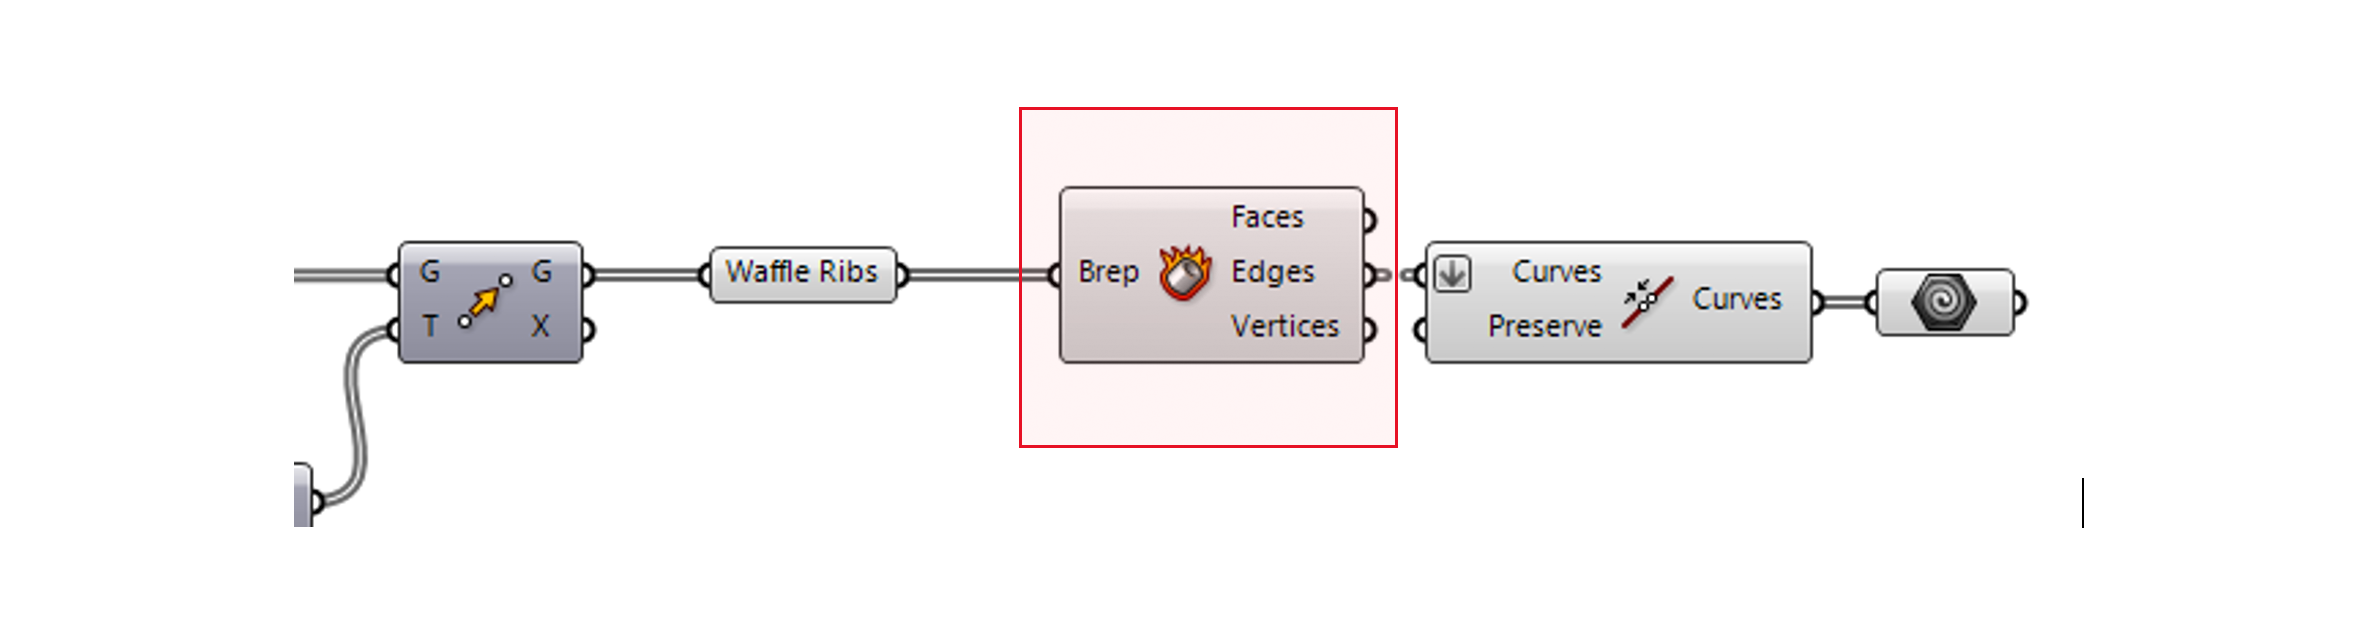
When laser cutting we need to ensure that we don’t use BREPs or surfaces when baking. Laser cutting requires 2D line work to cut properly. Errors can occur when using surfaces as rhino by defaults the seams of the surfaces instead of just the edges. This will cause the piece to be cut into 4 pieces instead of one. This can be resolved by using a deconstruct BREP and just using the edges as an output. Joining the curves together (don’t forget to flatten) will result in a quick simple cut.

Laser Cutting Edges

Baking for 3D printing

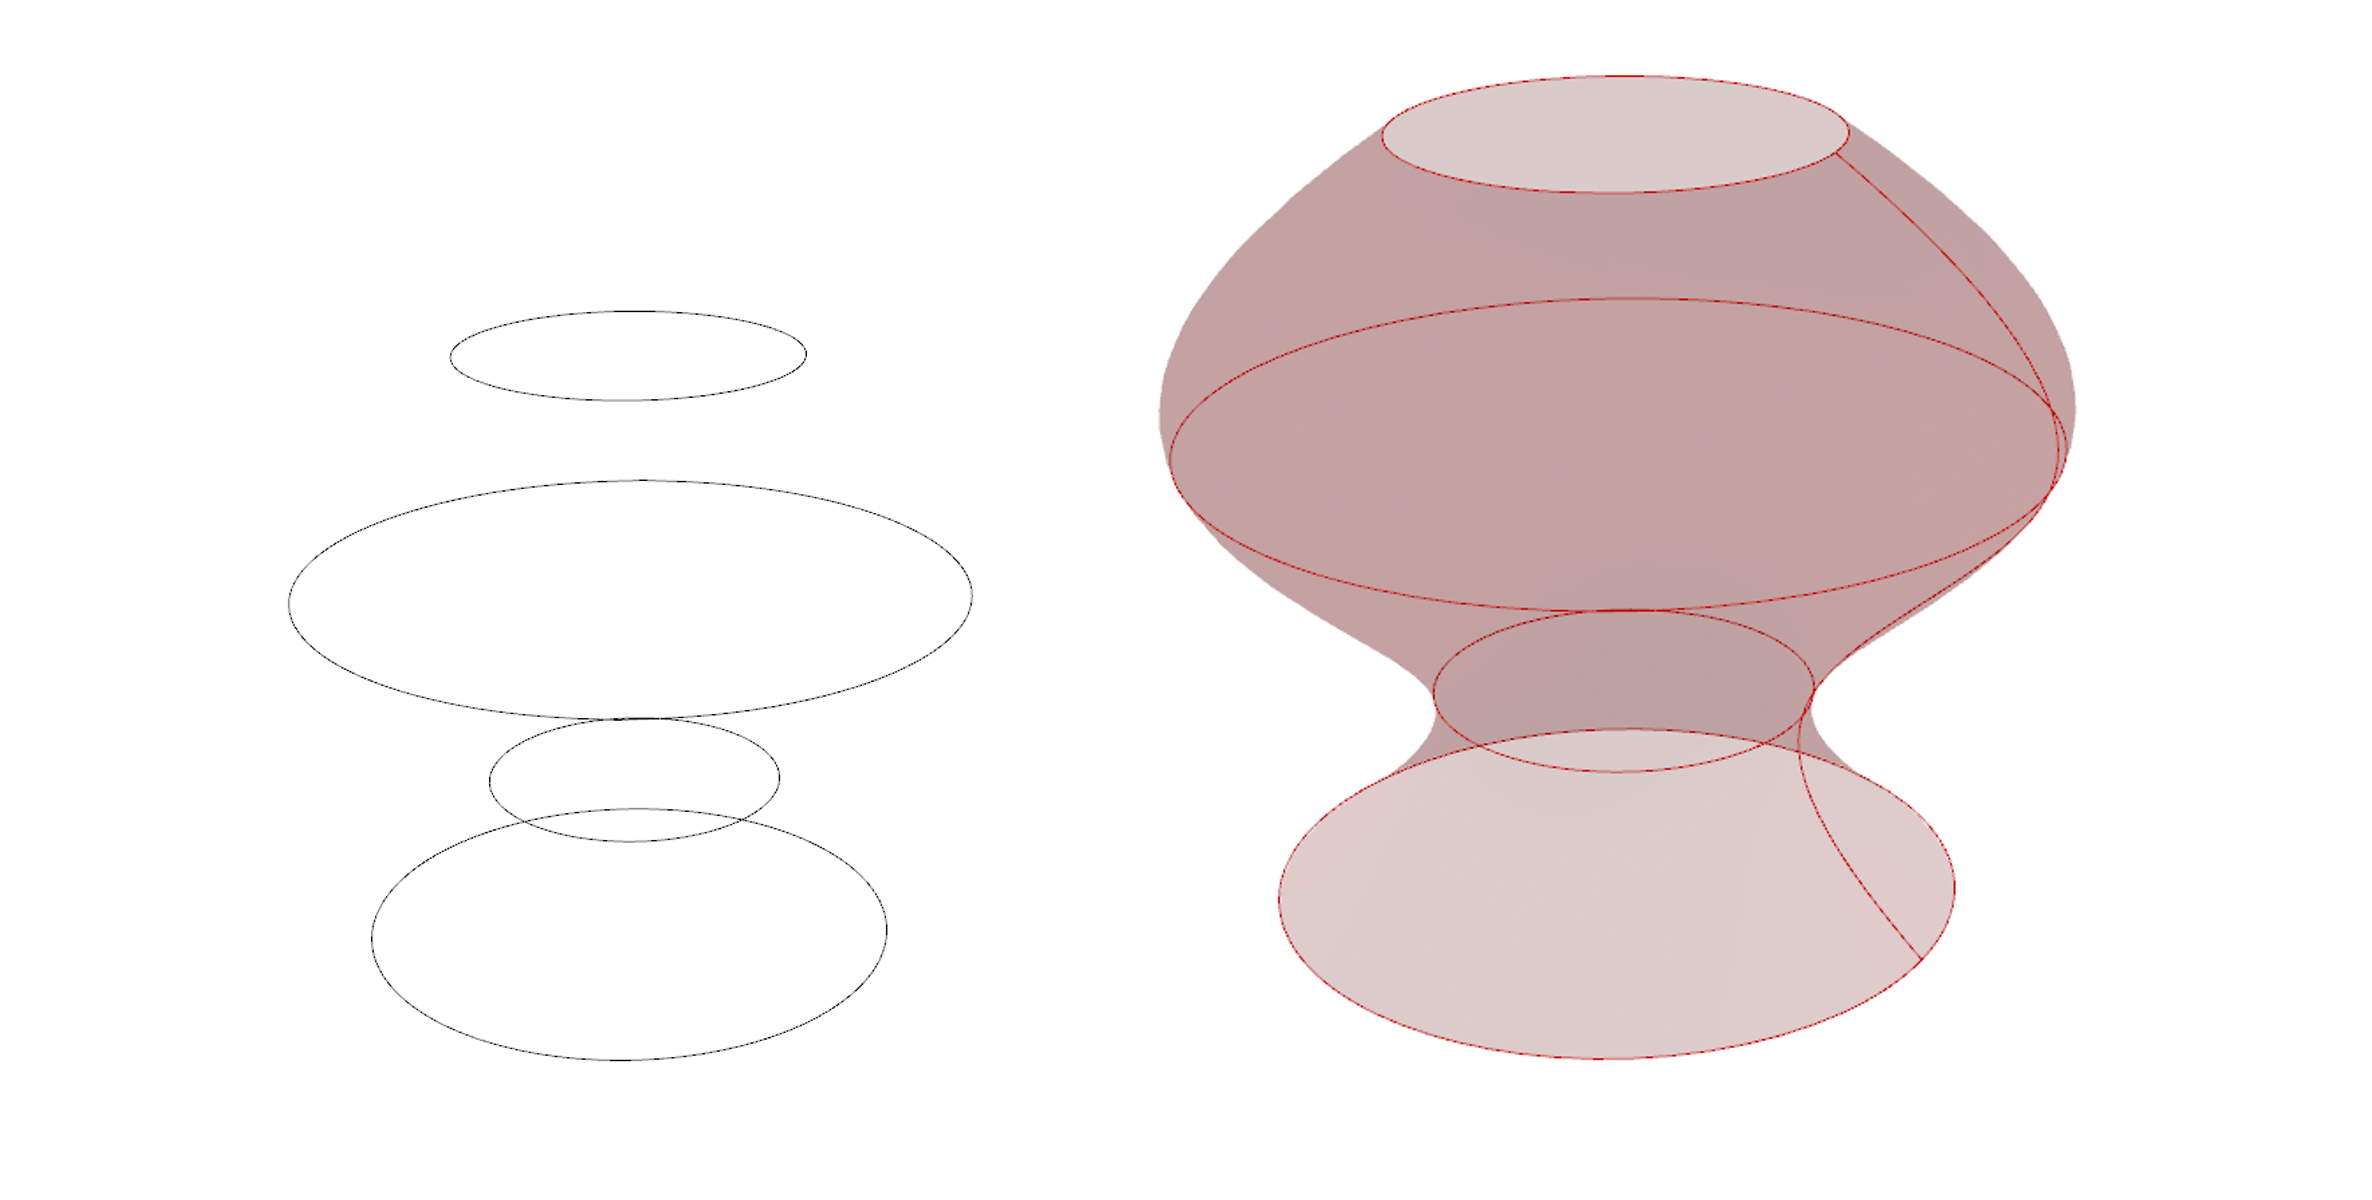
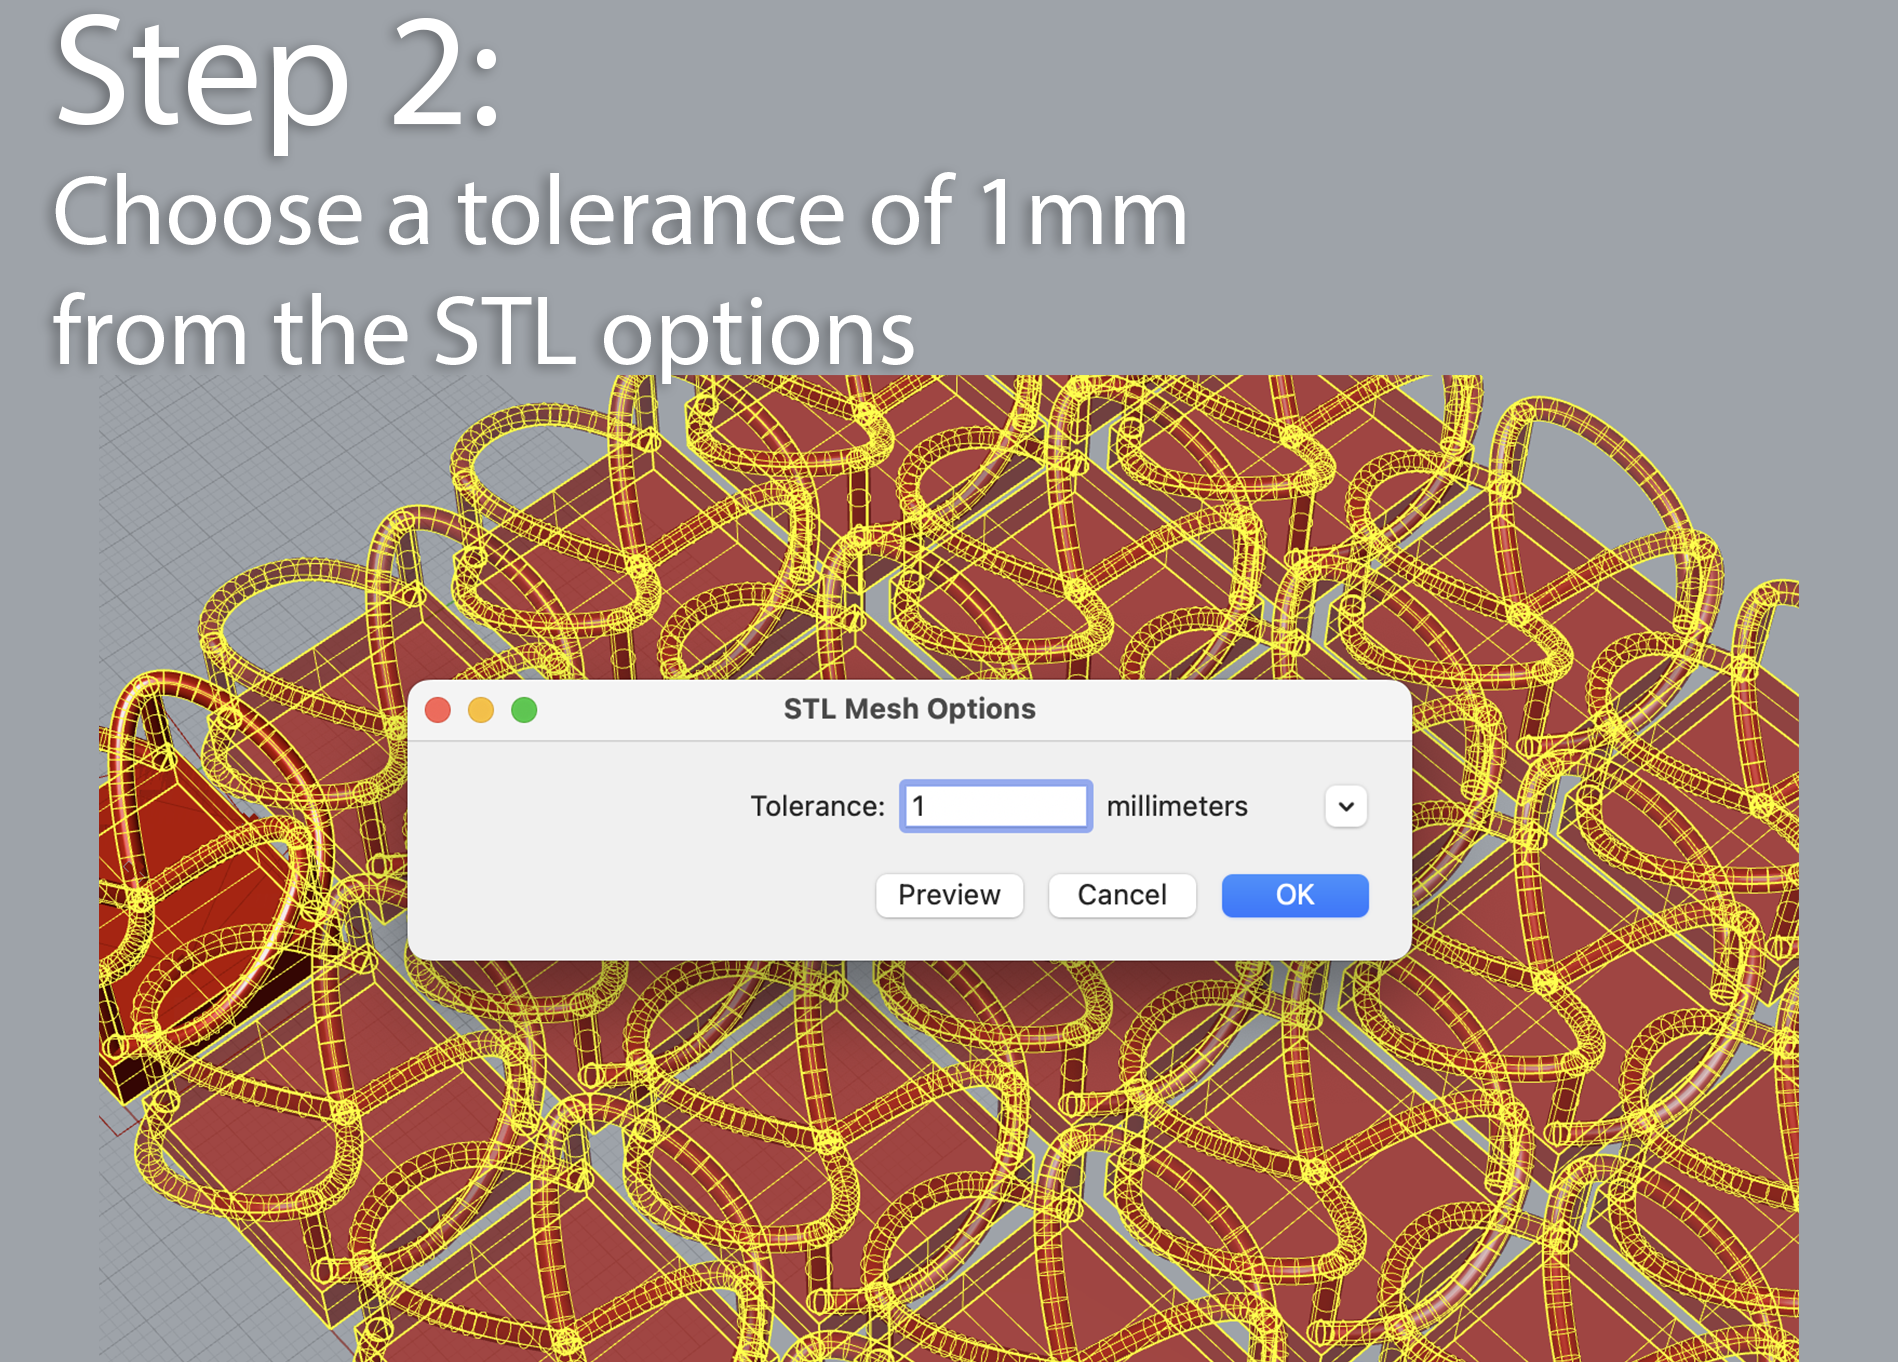
When 3D printing it is important to ensure your object is a SOLID CLOSED SHAPE or it won't 3D Print


When working in grasshopper or rhino it can be hard to see if your shape is actually closed visually. It is important to check this before baking it into rhino or printing.

*Reminder : A 2D surface with no thickness will NOT print.

You need to ensure your shape is a closed brep in both grasshopper and rhino. IT's helpful to add a panel to the end of your component so you will be able to find out what type of geometry you are working with (see image).

Although we hope shapes have been modelled correctly the next section explains some tricks and tips to create or fix geometries to achieve closed BREPS.

Closed Brep

By adding a panel to the end of your component you will be able to find out what type of geometry you are working with

Open Brep

Open Breps are what we want to avoid when 3D printing

Tips and Tricks to Change your Geometry from Open to Closed

Pipe


This can be resolved by right clicking on the pipe component on the input named "Caps" and changing the end of the pipe to be capped with a flat edge or a rounded edge

Pipe Caps
Pipe Open

This is what an open Pipe looks like - it will fail when being 3D printed

Pipe Closed

This is what a closed Pipe looks like- it will successfully 3D print.

A Group of 2D Surfaces

If the surfaces edges are touching you will be able to use the BREP component to join all the faces together and create a closed BREP for 3D printing.

If the BREP join component is unable to join the surfaces together the faces may not be touching, or they could be intersecting instead of touching. You will need to check your surface.

2D Surfaces

CAP

If you almost have a solid shape, but it is missing one face or has a small hole in it - you can attempt to cap this. Warning this doesn’t always work depending on the complexity of the shape or how it has been modelled.

Cap

Lofting Between Two Surfaces

If you are starting with two or more surfaces and you would like to loft between them to make a solid geometry you can take the edges and loft them together. Once you have done this you will have 3 surfaces, and although they looked joined as a solid, they are not. These will not 3D print. The original surfaces and the loft must be joined together.

Lofting Between Two Surfaces
Lofted Surfaces

Here you can see the script that takes the edges and merges the list together for lofting.

Lofting script

To join them you need to use the BREP JOIN component – which will result is a closed brep ready for 3D printing.

BREP JOIN example

Or alternatively you can attempt to CAP HOLES your object.

CAP Example

If you are working with curves or edges a similar technique would apply

Lofting curves
Loft Curves script

Add the CAP HOLES component so it's ready to 3D Print

Loft Curves script cap holes

Units and Measurement

It is important to note that grasshopper shares the units of measurement from Rhino. If you have set your project to MM then any numerical value entered into grasshopper is in MM. If you project is set to any other unit like CM, M or even INCHES grasshopper will be the same.

This can be controlled when starting a new file as shown here or going into File > Settings in Rhino

Rhino units