UNSW Making

Haas 5-axis: Simultaneous induction

Introduction

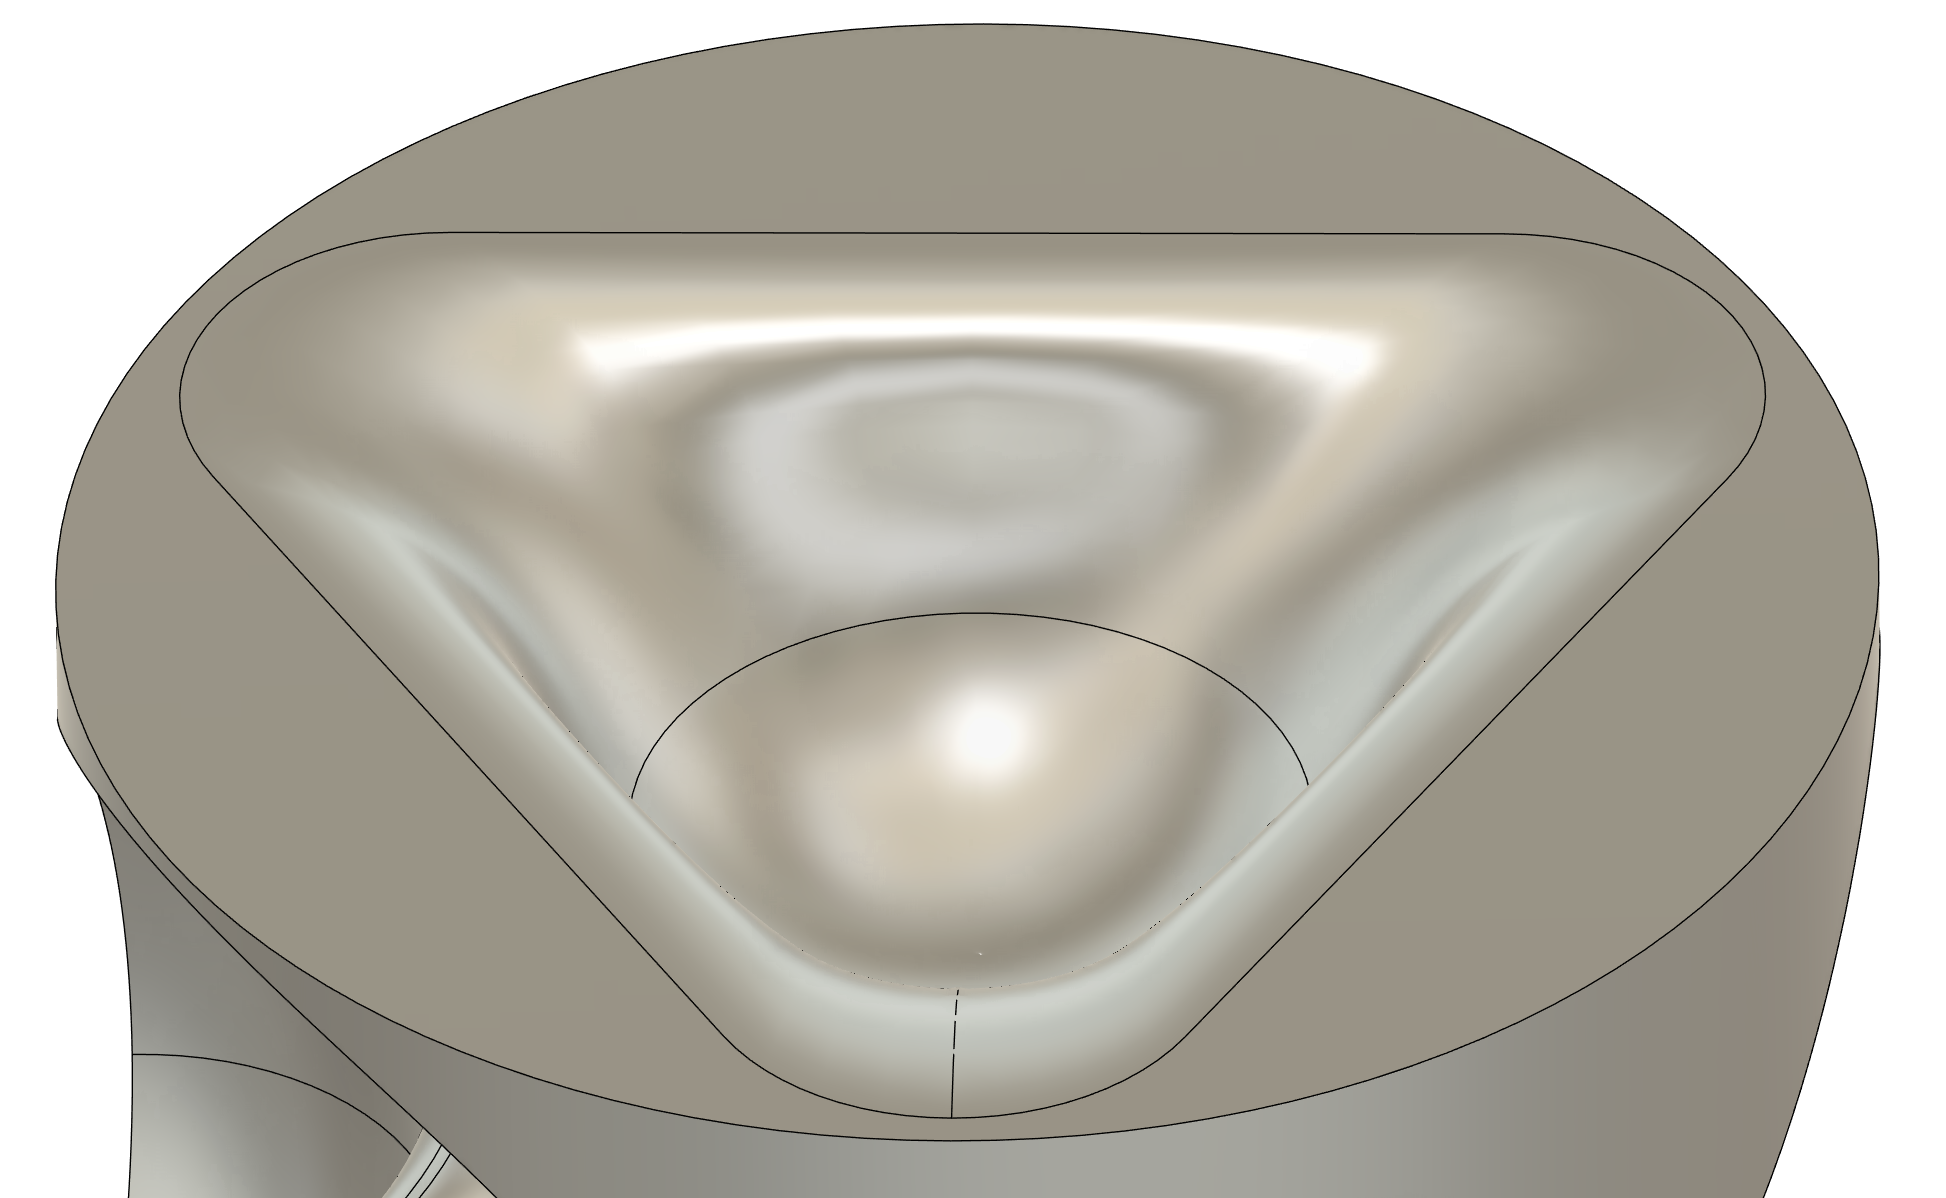
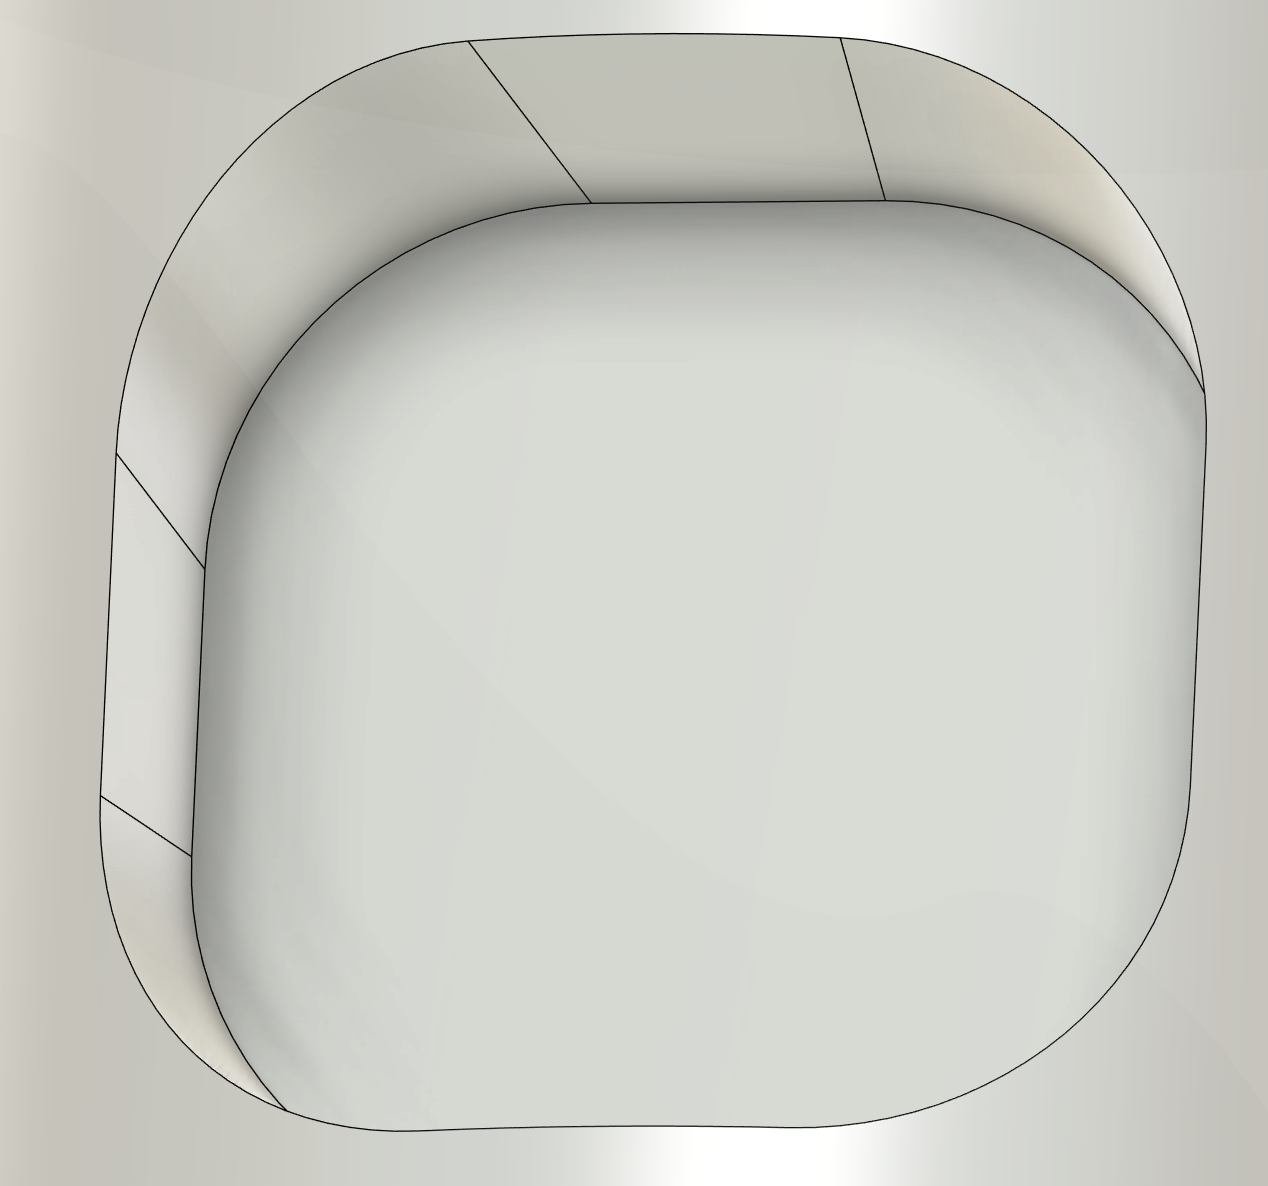
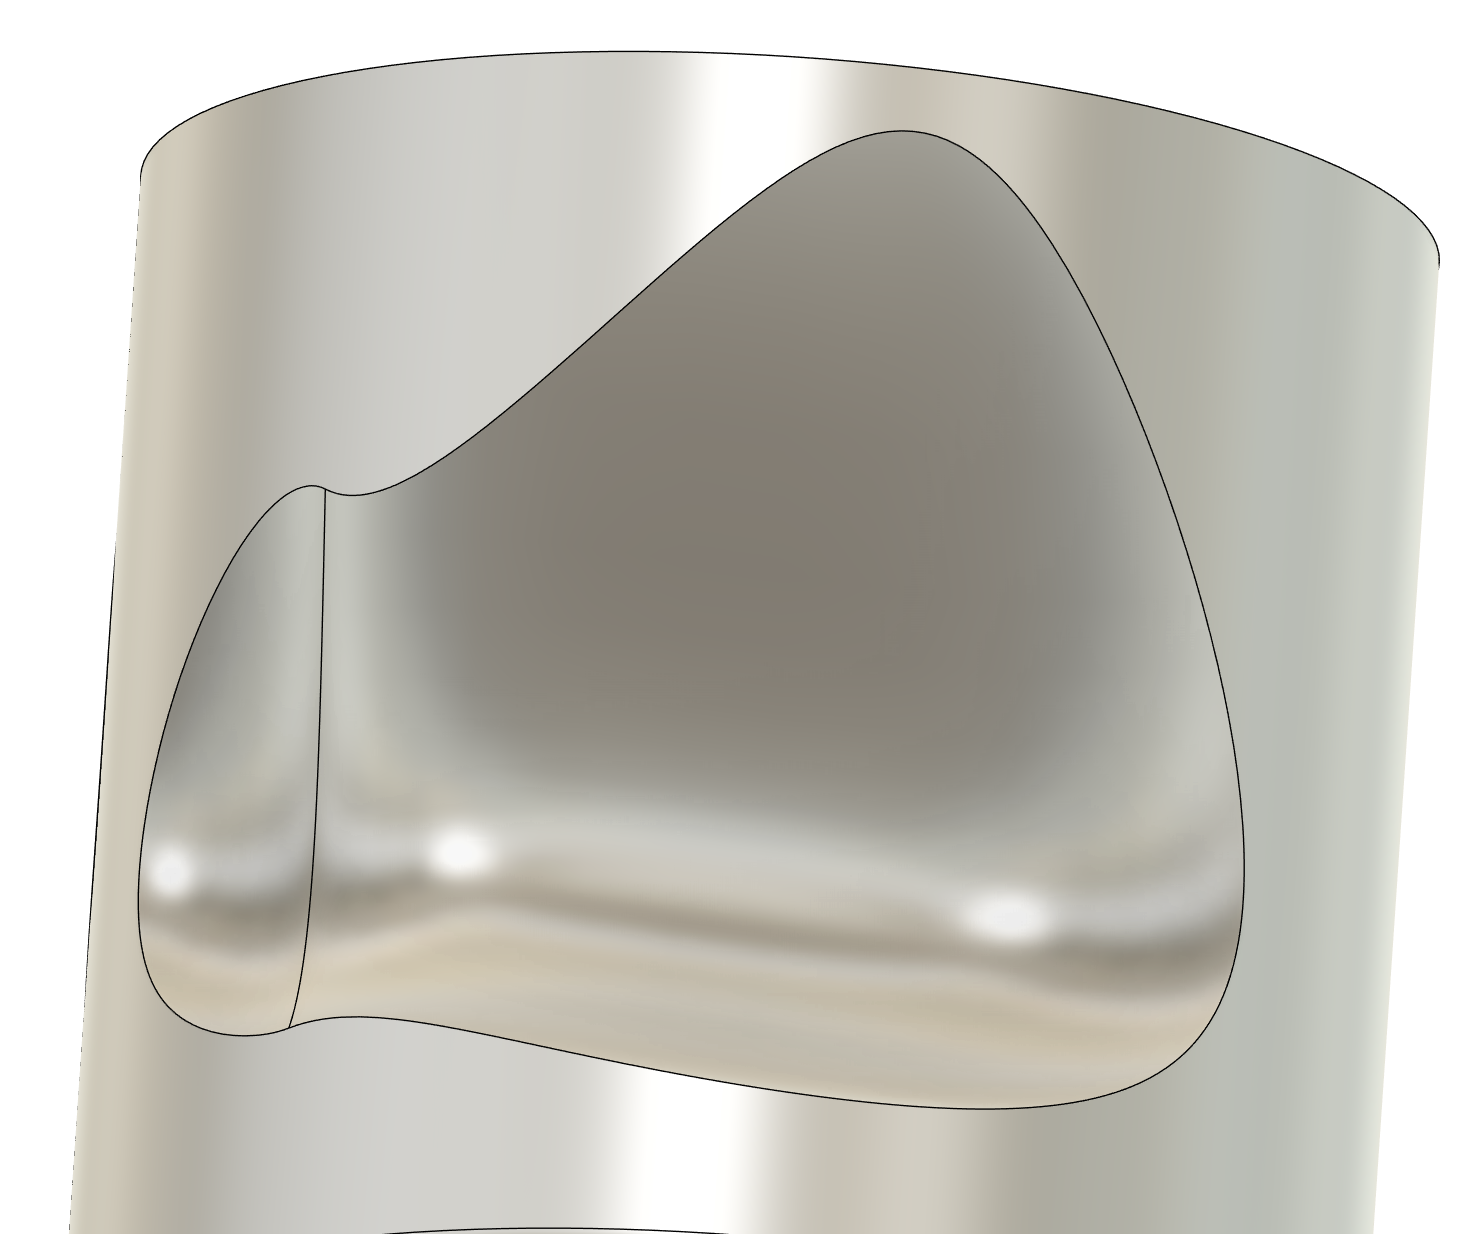
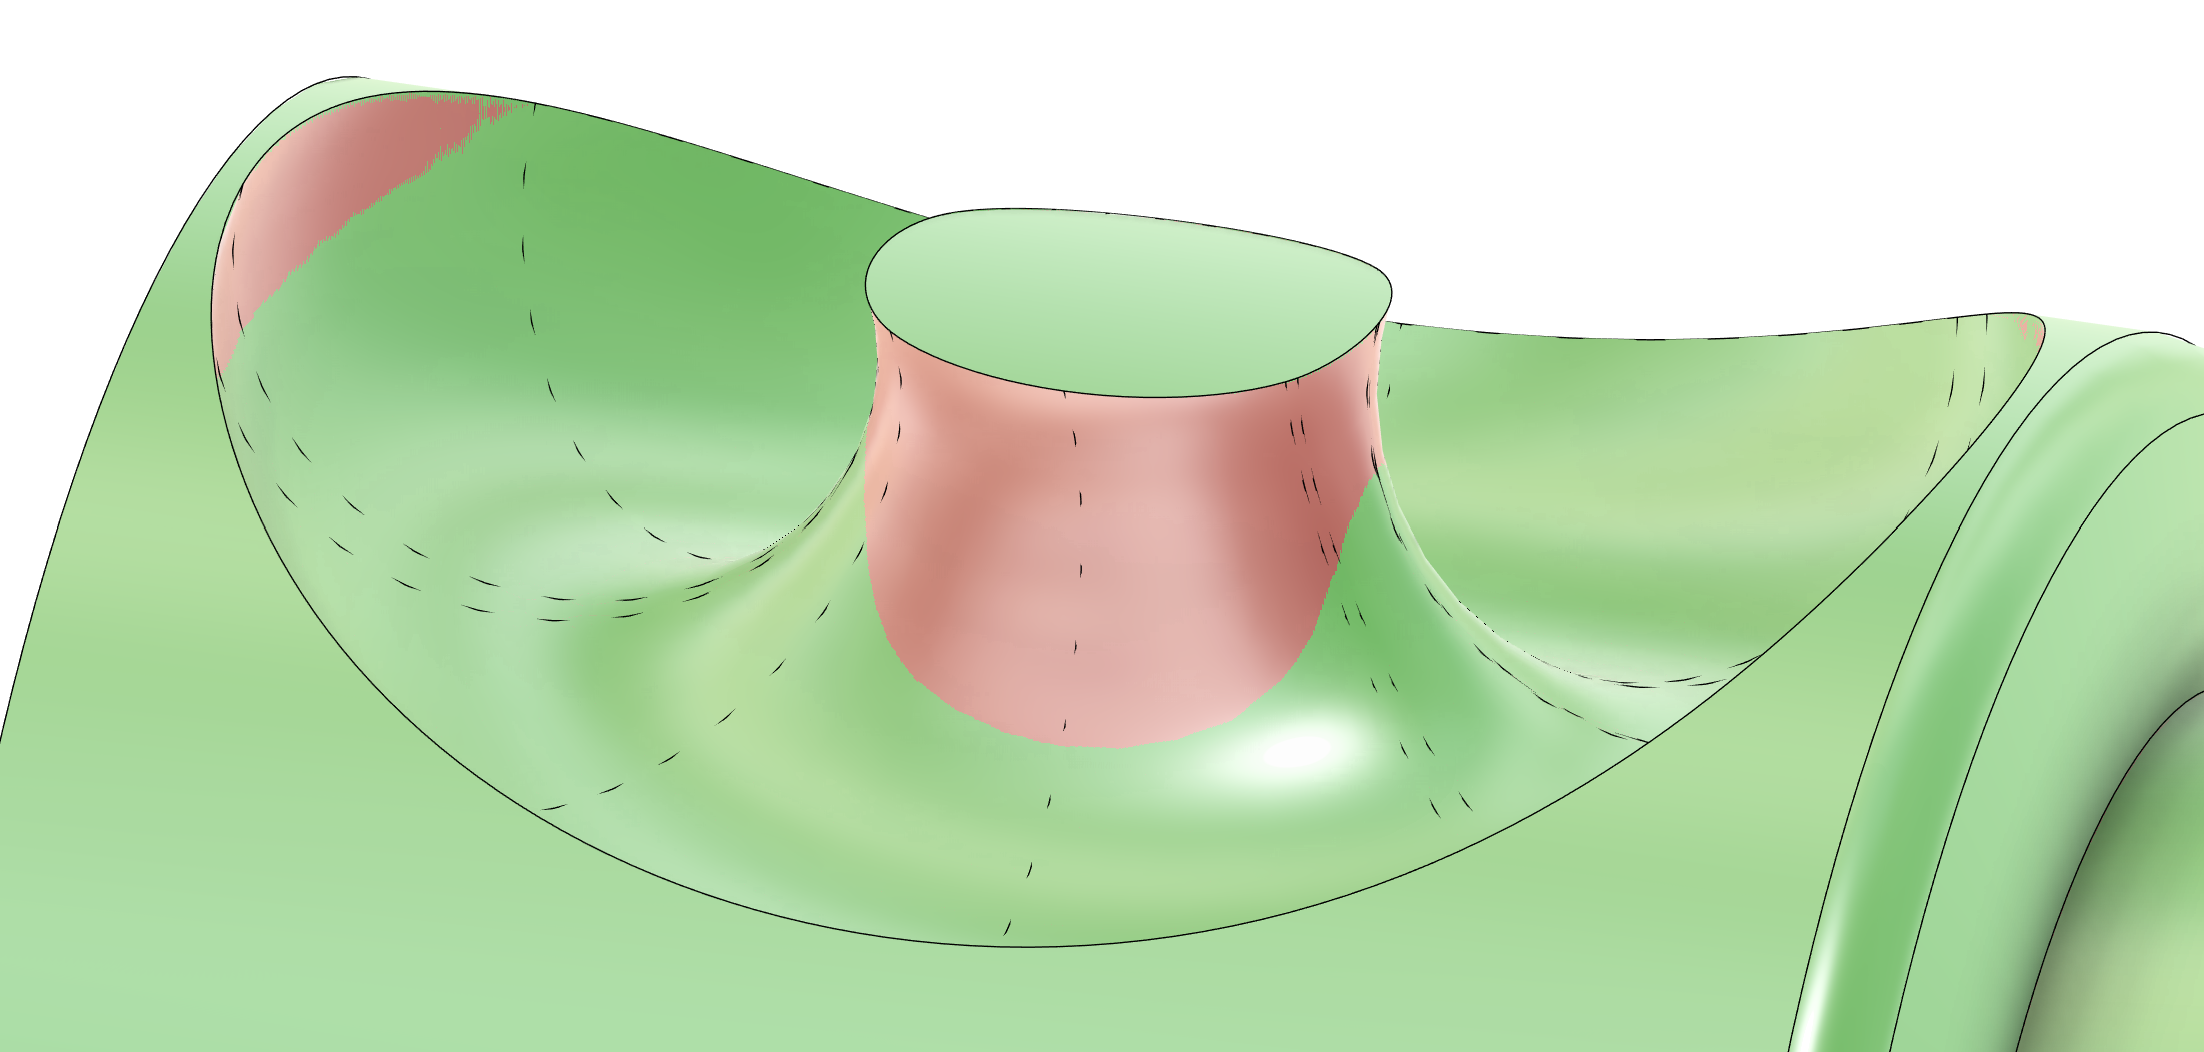
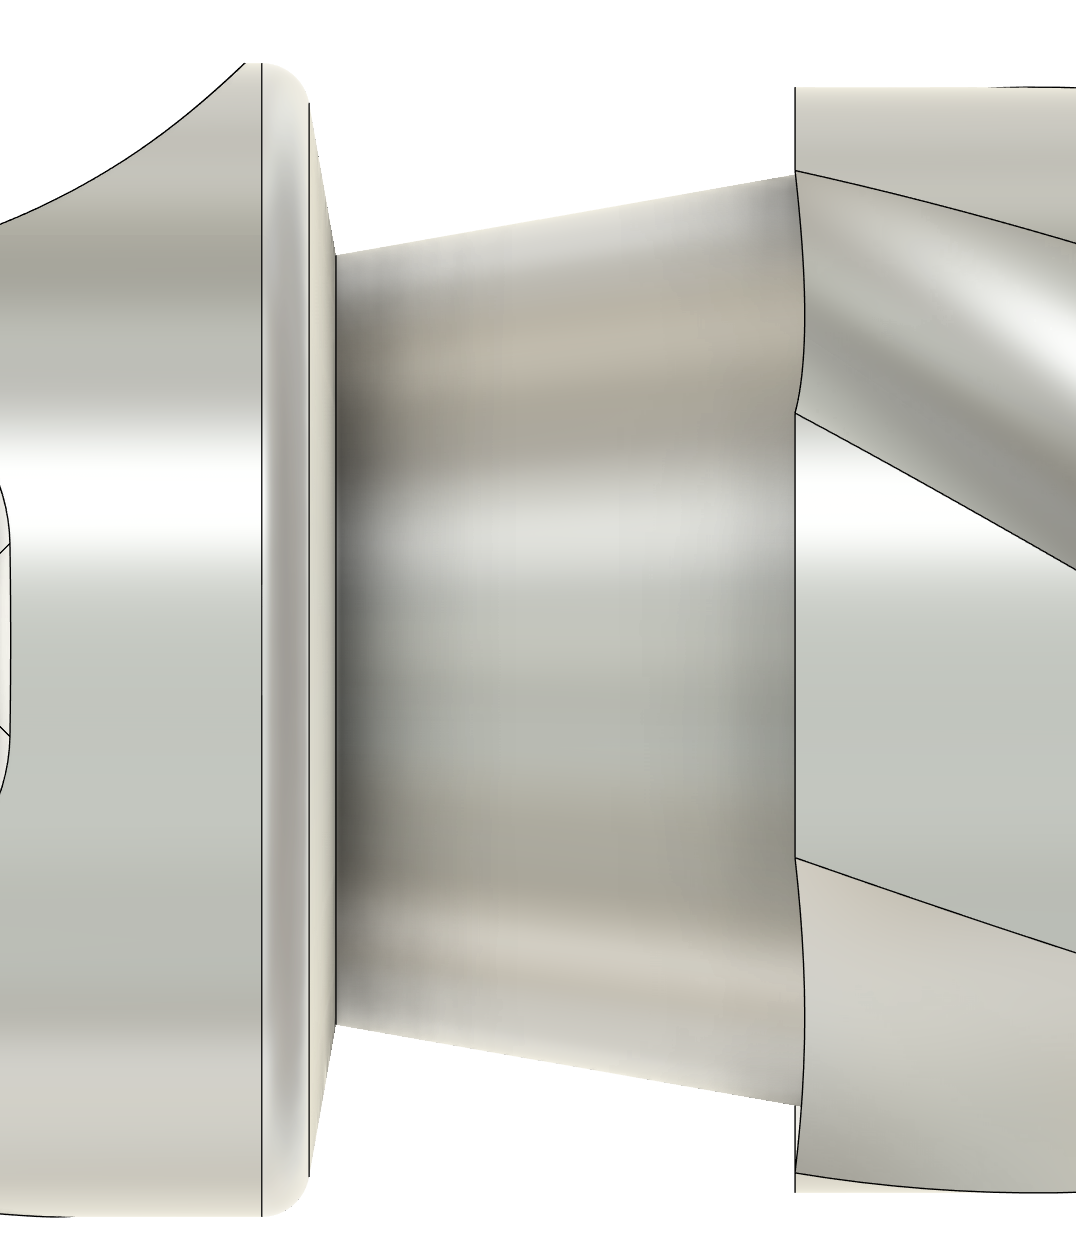
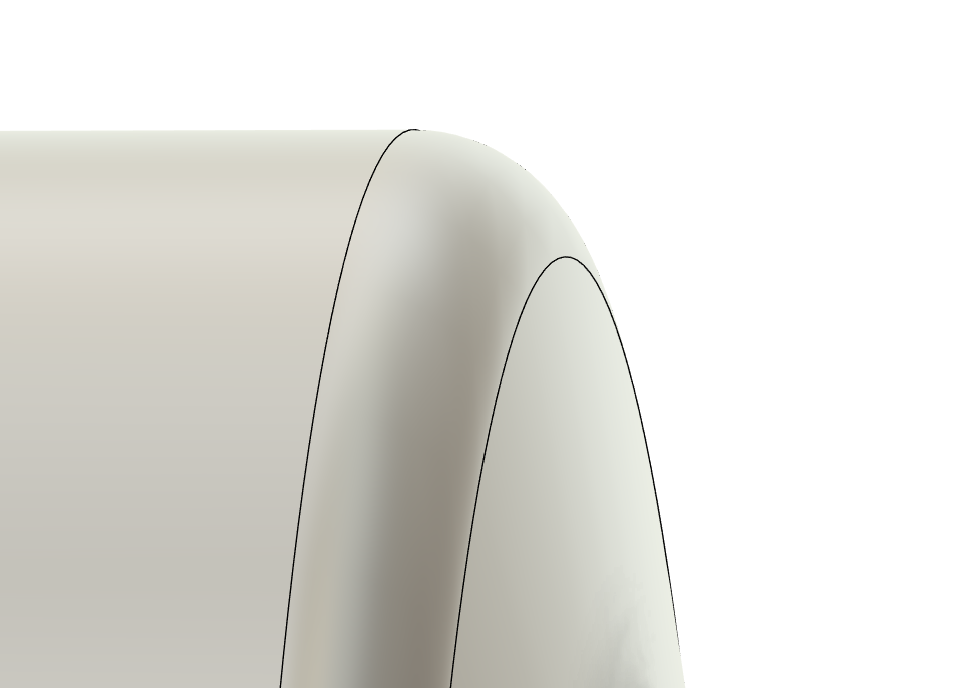
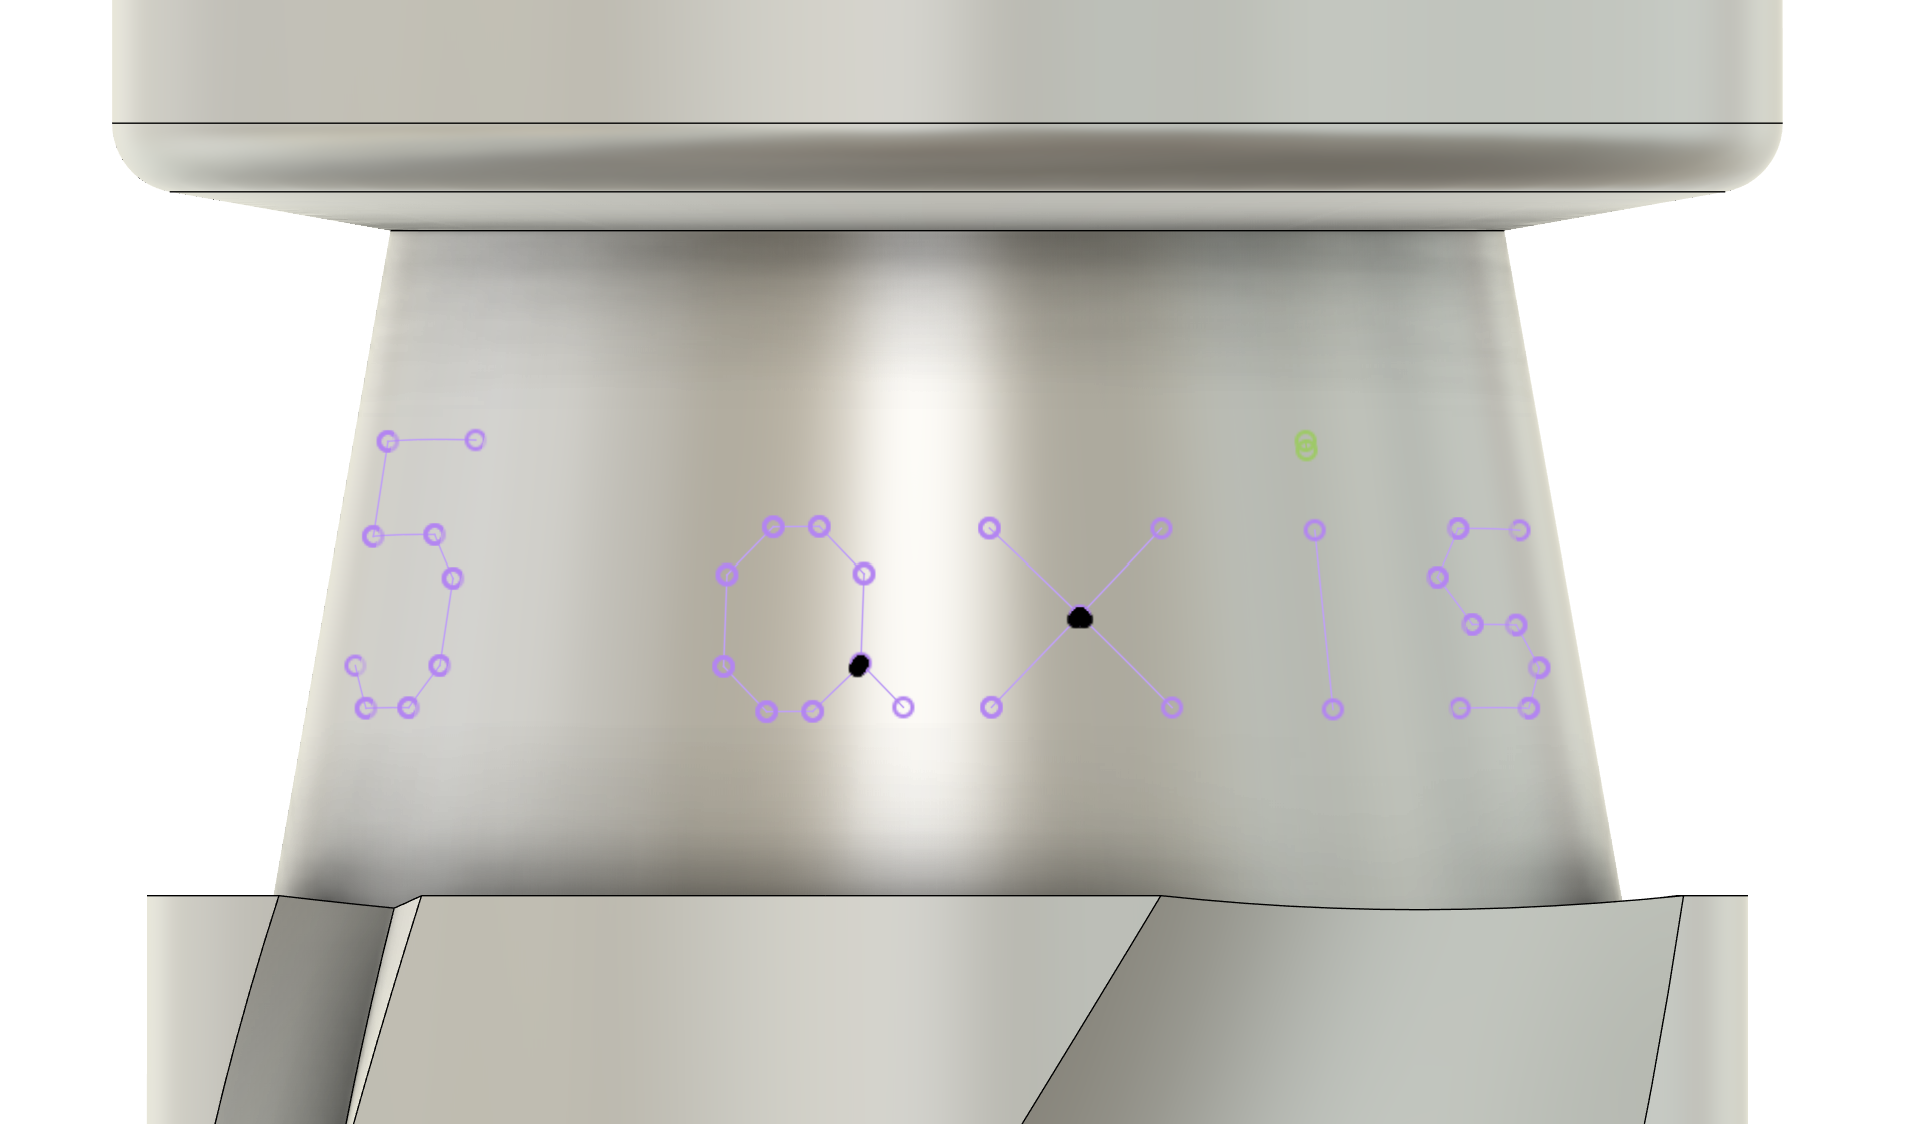
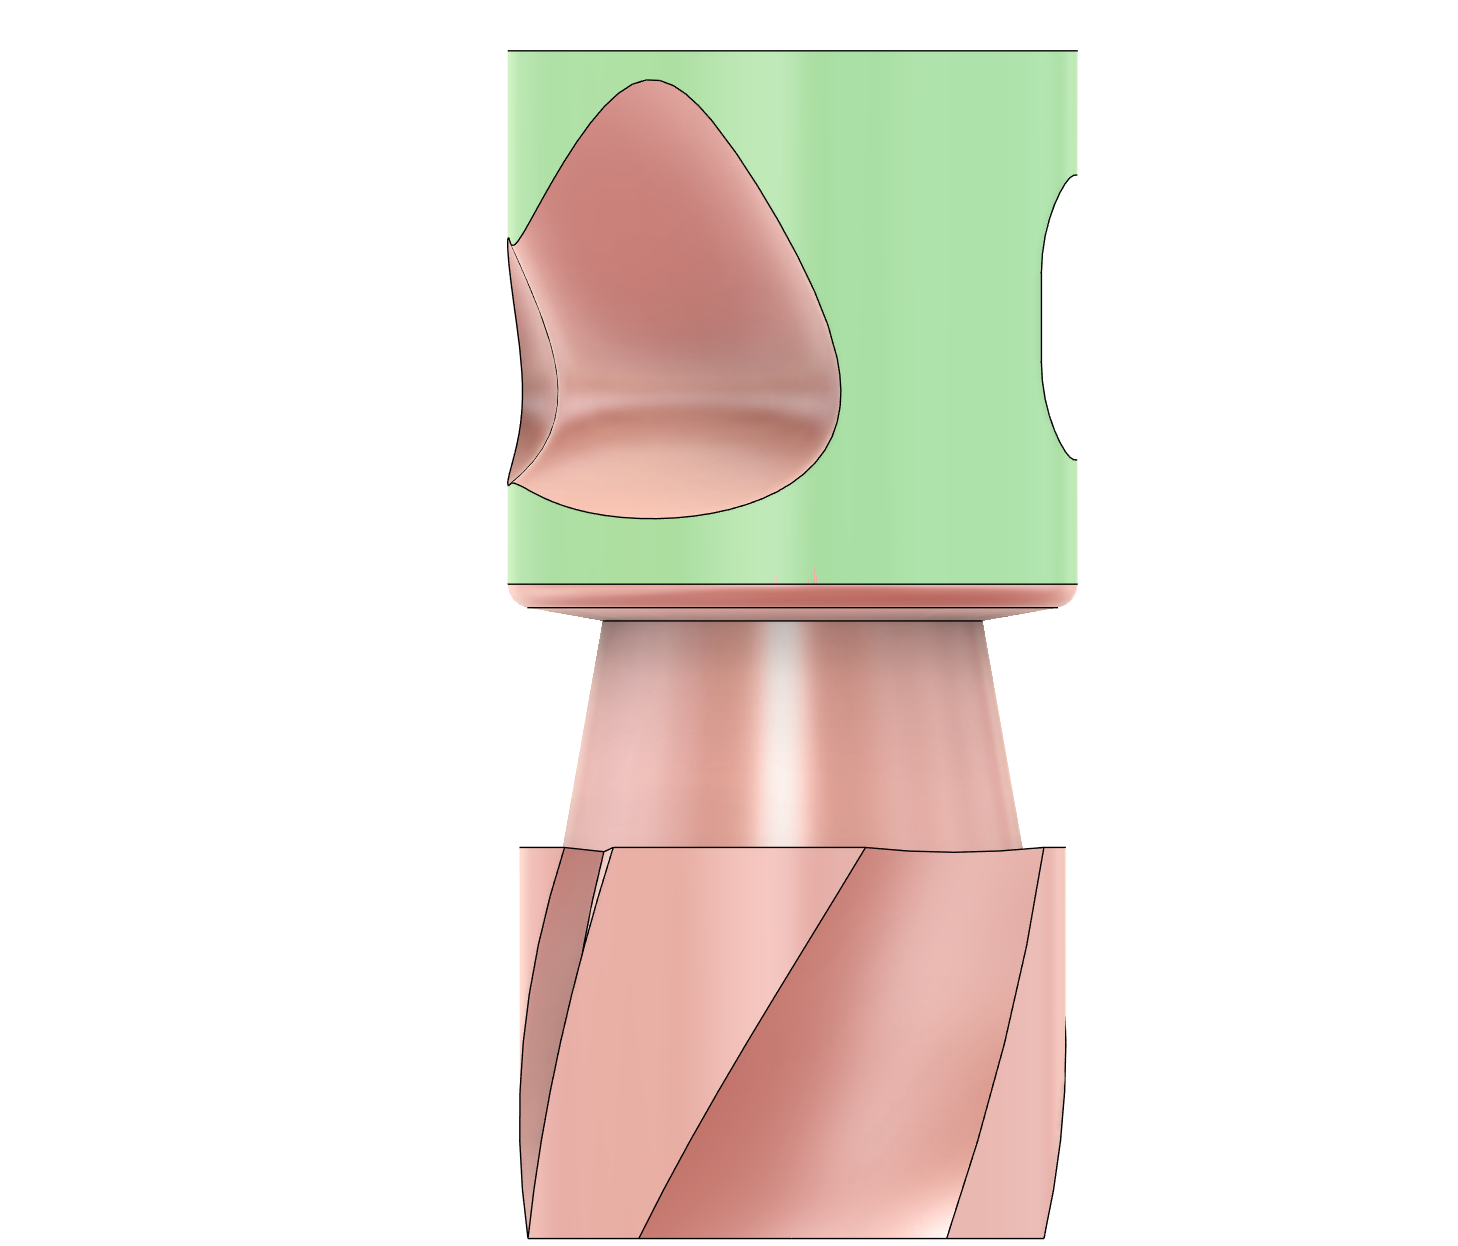
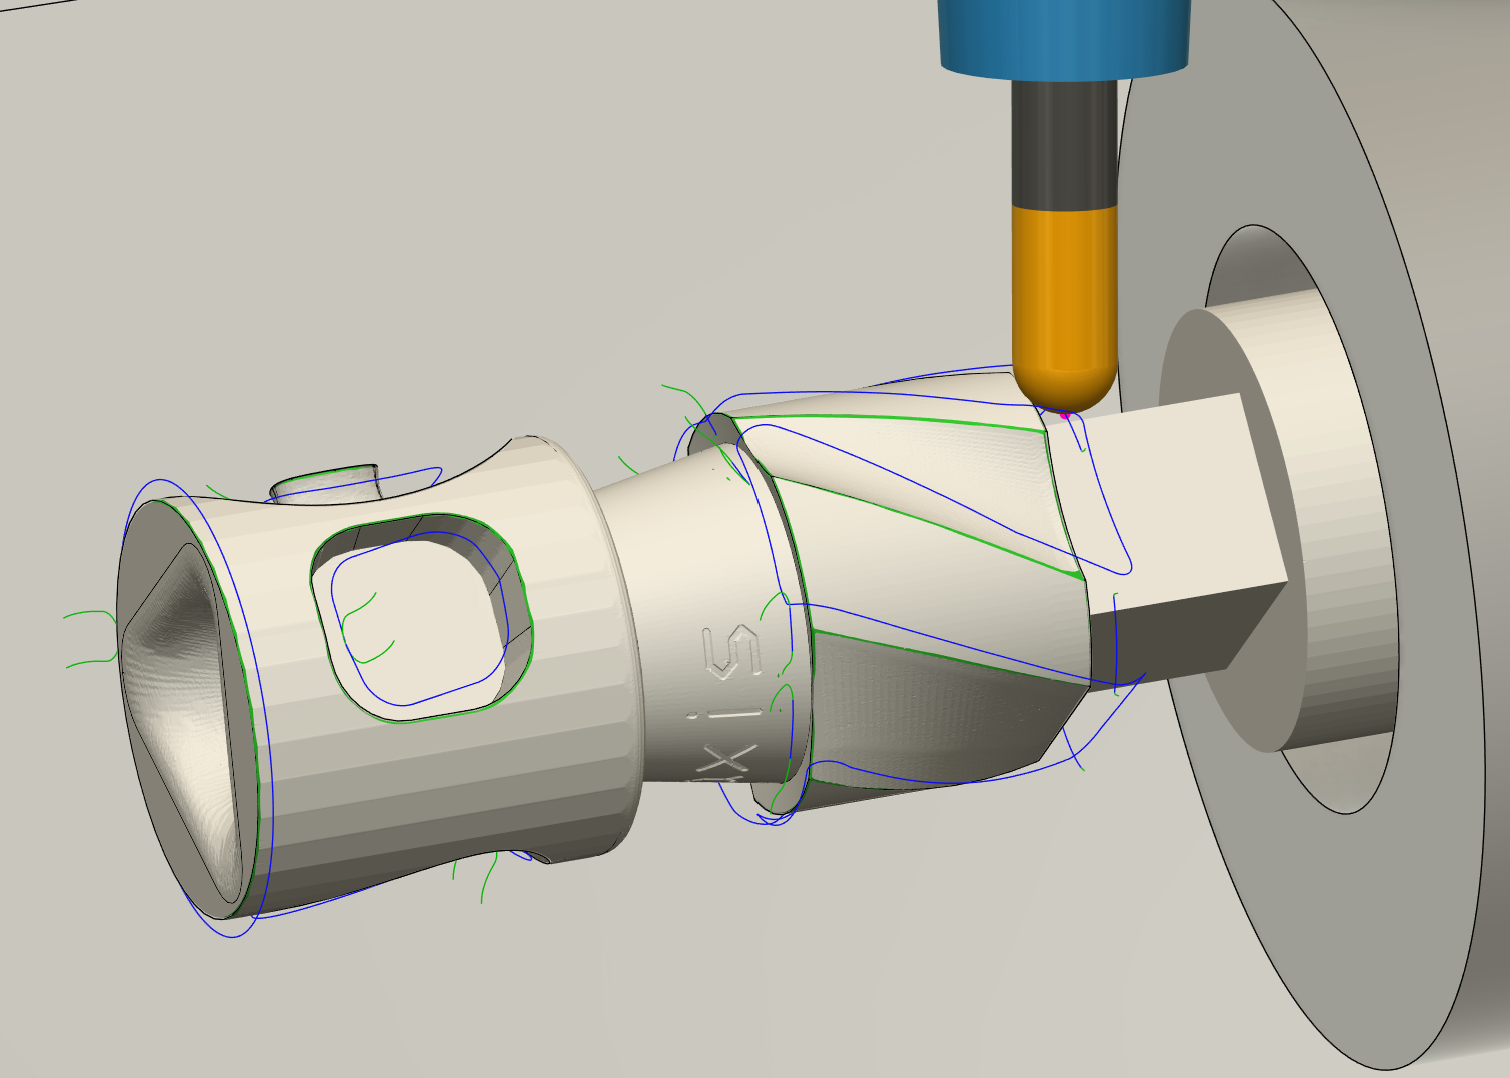
This part is designed to be machined using 4 and 5 axis simultaneous toolpaths. This means that all 5 axes will rotate at the same time while cutting. The goal of this induction is for you to learn so please try a few different toolpaths and options for each feature on the part. You can compare these various options during your induction with a staff member.

Once you have completed the CAM please bring it into the makerspace to get checked by a staff member. If the CAM is good, we will book a time for you to do induction. If there are too many issues with the CAM we will ask you to fix them and return with new CAM. This induction runs by request only, badge training sessions will not appear on the website.

Induction details

  • The files for the induction are in the same folder as the 3+2 induction. If you haven’t already got them, you can download them here.
  • The stock is 25.4mm round bar 2011 Aluminium, as long as you choose.
  • You can use the ER40 collet to hold the stock. This collet is excellent for 5 axis machining because it is much smaller than the vices or chucks, so it is easier to avoid collisions.
    • When choosing the length of the stock there must be sufficient stock in the ER collet (minimum 80% of the collet to avoid damaging the collet, the collet is 46mm so minimum 35mm in the collet - https://www.youtube.com/watch?v=WKikm6cQKh0).
    • A short stock stick out will reduce vibration and reduce the risk of exceeding the machine X and Z axis limits but will bring the spindle, holder and tool closer to colliding with the ER collet and bed.
  • Recommended tools:
    • 6mm flat endmill (you might need a long tool holder)
    • 6mm ball mill (you will need a long tool holder)
    • 6mm 90deg engraving mill
    • 12mm flat endmill (with stick-out greater than the radius of the ER40 collet this can be used for tabbing)
  • It is recommended to machine from the top of the part to the bottom so that you maintain decent rigidity of the stock. This means more tool changes, but it only adds a few extra seconds.
  • Good surface finishes are not important in this induction, but you can try to improve the surface finish if you are interested.
  • You must deburr all sharp edges by 0.2mm

Feature guide and requirements

Haas 5-axis simultaneous CNC induction

Recommended toolpaths: Pocket, Radial, Scallop, Geodesic, Multi-axis finishing, Morphed spiral

You must rough with a ball mill before finishing.

This could be machined in 3 axis but try to avoid using the tool tip for better surface finish and tool life.

Toolpaths that have an option for “lead and lean” or “avoid tool tip” or “cut at fixed point on tool” are best. Defining 5 axis motion by point or curve is possible but more complicated.

The semi-sphere at the bottom is quite small, make sure the tool doesn’t plunge.

Try not to let the ball mill touch the flat areas.

Recommended toolpaths: Adaptive, Flat, 2D Contour, Swarf, Advanced Swarf

This is a pocket with a 5-degree draft angle, simulating what is often used in injection moulds.

Normally you need a tapered tool to make this but with a 5-axis it is easy!

Haas 5-axis simultaneous CNC induction

Recommended toolpaths: Pocket Clearing, Adaptive Clearing, Scallop, Geodesic, Multi-Axis Finishing, Morphed Spiral

Try to avoid using the tool tip, you could use settings like “slope” or “lead and lean” or “avoid tool tip” or “cut at fixed point on tool”.

Recommended toolpaths: Pocket Clearing, Multi-Axis Finishing, Rotary Contour, Scallop, 3D Contour

This deep torus is an excellent example of needing full 5 axis machining capability because of the under hangs (shown in red).

Rough as much material as possible with a flat endmill first because they cut better and faster. Then, rough with a ball mill before finishing. Pocket is more suitable than adaptive because it can slot with a small stepdown.

The tool axis limit setting might be useful to prevent collisions because it can limit the B axis from tilting too far.

feature 14
Haas 5-axis simultaneous CNC induction

Recommended toolpaths: Rotary Pocket, Rotary Parallel, Rotary Contour

This cone is at a 10-degree angle, and in some toolpaths you can fix the tilt of the B axis to match the feature you are machining.

Try to do rotary roughing rather than multiple tool orientations.

Smaller stepovers and multiple passes can improve surface finish. The "5 axis" engraving will make the floor surface rough, but repeating the finishing pass can smooth it over.

Recommended toolpaths: Blend, Flow, Morph, Rotary Parallel, Multi Axis Finishing

Try to make it look smooth by machining in the direction of the fillet. You should get circular looking toolpaths, not lots of lines.

feature 16
Haas 5-axis simultaneous CNC induction

Recommended toolpaths: Multi Axis Contour, Trace, Engrave

Engrave 5 axis on the side of the cone.

Multi Axis Contour is best because you can do all the text in one operation. For Trace or Engrave you have to do 3+2 machining on each letter separately. 4th axis wrap doesn't work because the surface is a cone not a cylinder.

For Multi Axis Contour you have to model your engraving tool with a non-zero tip radius (0.3mm is a common tip radius). If you model a sharp engraving tool it creates an error that Stepover is smaller than the Tolerance.

To make the tool engrave deeper into the surface you must use a negative axial stock to leave on the model (under Avoid/Machine Surfaces in the Geometry tab) AND use a negative Axial Offset (in the Passes tab). The engraving depth will be limited by the smaller of the two, so make them the same number.

Engraving leaves a rough surface texture, to make it smooth you can repeat your floor finishing pass on the surface of the cone.

Recommended toolpaths: Rotary Parallel, Rotary Pocket, Rotary Contour

Notice that the bottom of the cylinder is all red because the diameter at the bottom is 1mm smaller than the top. This means you can’t 2D contour the circular bottom section.

You could machine it using the ball mill or a flat mill, I would prefer for you to use the tip of a flat tool because that will leave a flatter surface.

Spiral is better than stepovers because it leaves less machining marks. Smaller stepovers also help improve surface finish.

Avoid plunging the tool.

Try to cut a perfect cylinder that the next toolpaths can then cut the grooves into. You might need to model a smooth cylinder and use “model” setting to prevent it plunging in each groove.

Haas 5-axis simultaneous CNC induction
Haas 5-axis simultaneous CNC induction pre cut

Recommended toolpaths: Advanced Swarf (Don’t try swarf it just doesn’t have enough control options)

Two of the bottom curves are swept flat profiles, so you can use the side of a flat endmill to cut them.

They are on opposite sides of the part so instead of using 2 tool paths you can use one and a rotary pattern.

Use axial offset to make the tool cut deeper than the edge of the contour. Make the axial offset large enough that the tool doesn’t cut on the tip.

Use “multiple passes” to do stepovers. When working out your stepovers you can simulate to find out how much stock is left from your roughing operation. Don’t use “multiple depths” it leaves lines on your part.

If you are having collision problems the useful settings to look at are “tool axis on extensions”, “cutting mode”, “synchronisation mode”, “minimise rotary motion”, “manual synchronisation”, “check for gouges”, “keep initial orientation”, “flip tool”. You can also change how you defined the swarf, adding more information like “guide curves”, “adjacent surfaces”, and “floor surfaces” is helpful.

You might need the long tool holder to cut these.

It can be helpful to cut the stock connecting it to the collet down below the swarf surfaces to avoid large tool loads and plunges.

Recommended toolpaths: Advanced Swarf, not Swarf

One of the bottom curves is a 120-degree groove. You can still use advanced swarf, but you might need two tool paths for each side.

If you can’t make it perfect that is okay, it is quite difficult. This feature is designed to make you think about how to avoid collisions.

Define the floor surface and use “tool tracks floor”.

Same tips as above for using advanced swarf.

Haas 5-axis simultaneous CNC induction

Recommended toolpaths: Blend, Flow, Morph, Multi Axis Finishing

The final feature on the bottom is a swept circular profile. So it has to be milled with the 6mm ball mill.

Avoid using the tool tip and try to machine upwards rather than downwards. Machining upwards helps avoid the tool tip.

Try to use lead and lean.

Tool axis limits and collision avoidance are helpful.

Do a clearing pass with the ball mill before finishing

Recommended toolpaths: Deburr

Deburr all the sharp edges on the part by 0.2mm. This can be done with a ball mill and the deburr toolpath. The deburr toolpath is very intelligent, it will automatically detect all sharp edges that need deburring. However, you need to make sure that all the sharp edges can actually be deburred without plunging or slotting the tool through lots of excess stock. There is an option to select edges to exclude from the auto deburring, or you can turn off auto deburr and manually select the edges you want to deburr.

You can remove some material from the end of the part so that bottom edge can be deburred.

Avoid cutting on the tip of the tool. There is an excellent setting called "avoid using tool tip" and you can also specify a lead angle or force it to "cut at fixed point on tool". I prefer not to cut at a fixed point on the tool because it gives less flexibility to the toolpath.

The deburr toolpath has a high chance of collisions because it will try to tilt to some big B angles. This risk can be reduced with the "tool axis limits" setting. The maximum possible tilt of the B axis is 120 degrees.

Deburr should only be removing a small amount of material, so it can feed significantly faster. Chip thickness is also reduced by chip thinning.

Haas 5-axis simultaneous CNC induction
Haas 5-axis simultaneous CNC induction white space
white space Haas 5-axis simultaneous CNC induction

Recommended toolpath: 2D contour, Pattern

The final challenge on this part is to part it!

Because 5 axis is awesome you can finish virtually everything in one operation.

Make sure to deburr before parting.

Take it to a 0.7mm thick tab. This is thick enough to break off by hand but shouldn’t let the part fly off.

When slotting to part you can use “roughing pass” to make the slot slightly (0.5mm) bigger than the tool diameter. This helps reduce vibration because the tool isn’t toughing on both sides when it is deep in the slot.

Use smaller step downs and slower feeds and speeds for the very last operation because vibration and loads become a problem.

Change the “lead-in sweep angle” to 0 degrees, so it leads in aligned with the slot.

Try using trim toolpath to reduce the amount of air cutting the slotting does. Not really important for speed but I want to show you how to trim toolpaths.

When you trim be careful to simulate to make sure the toolpath doesn’t plunge.

Related Badges