UNSW Making

Photogrammetry

Create a 360° digital file of your physical model

What is Photogrammetry?

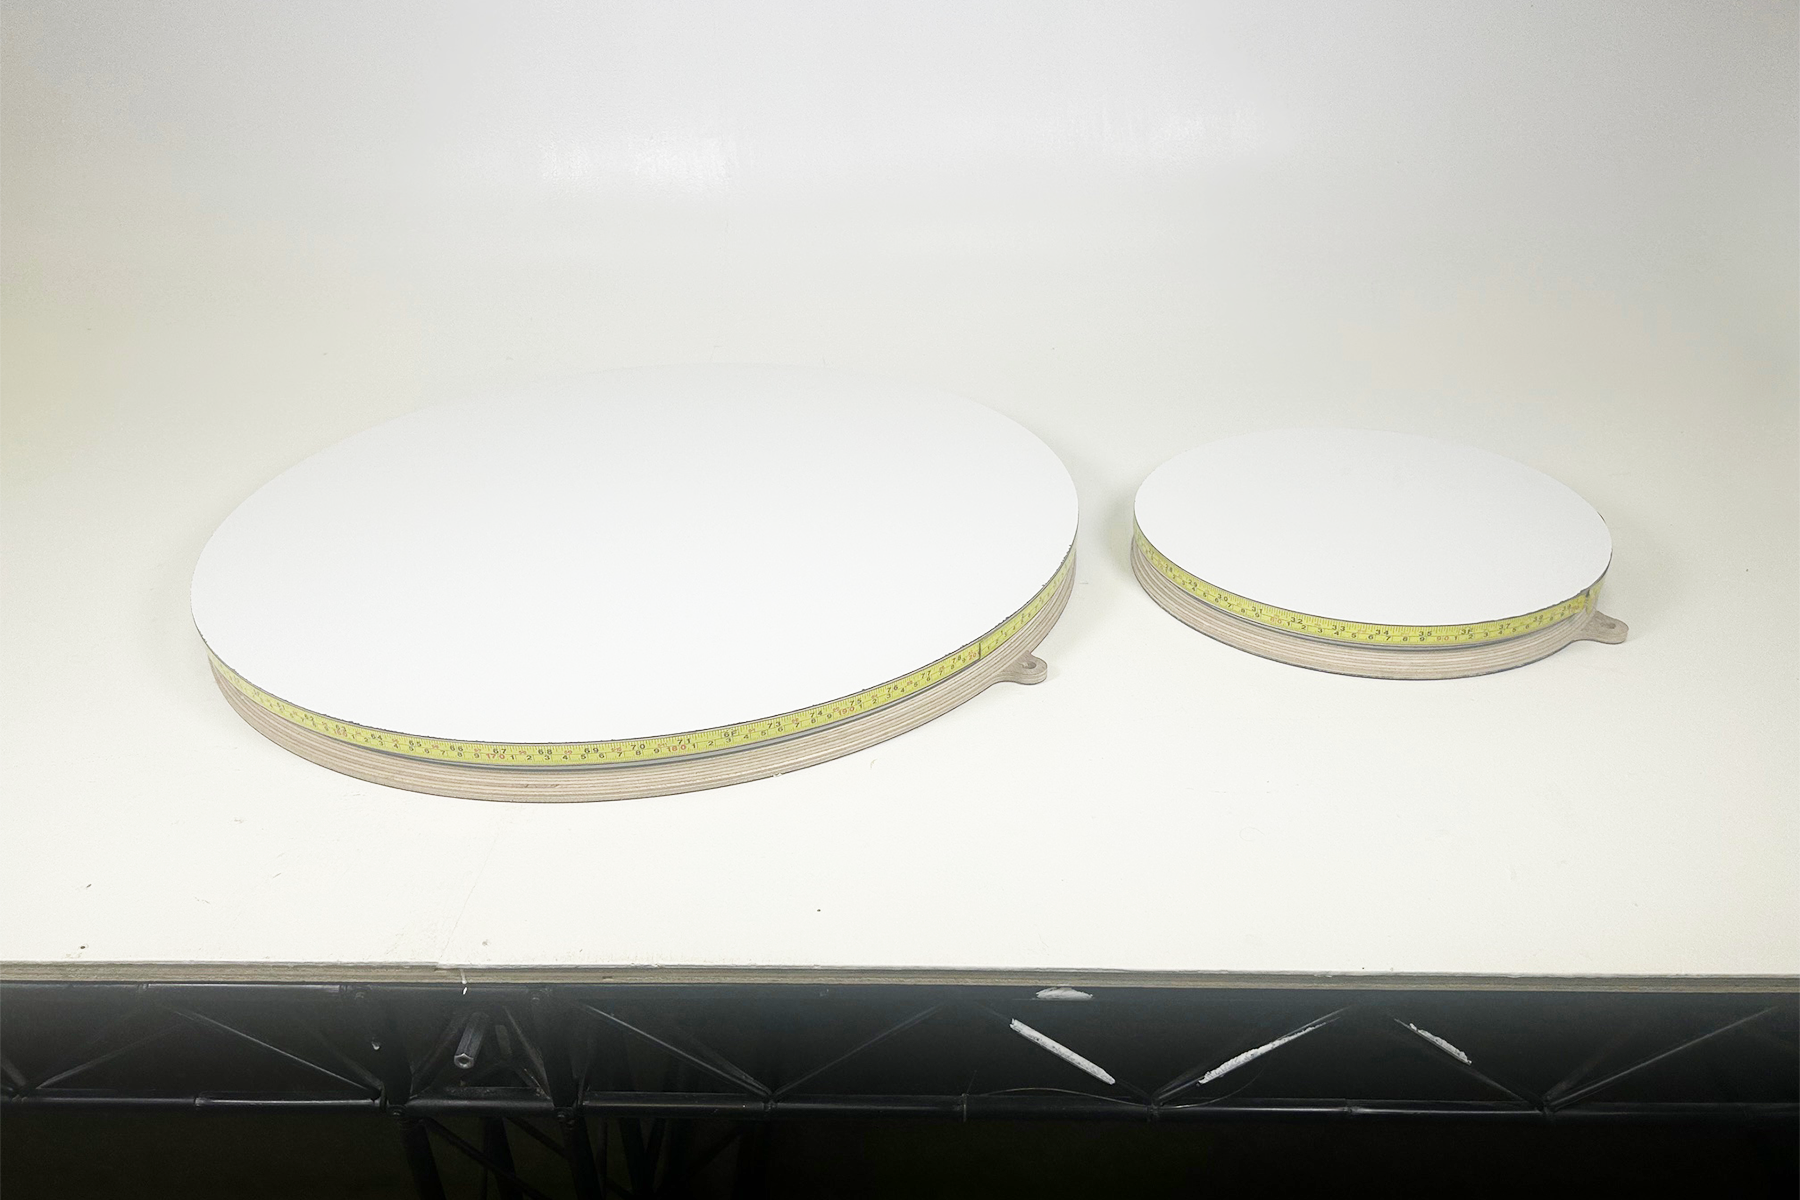
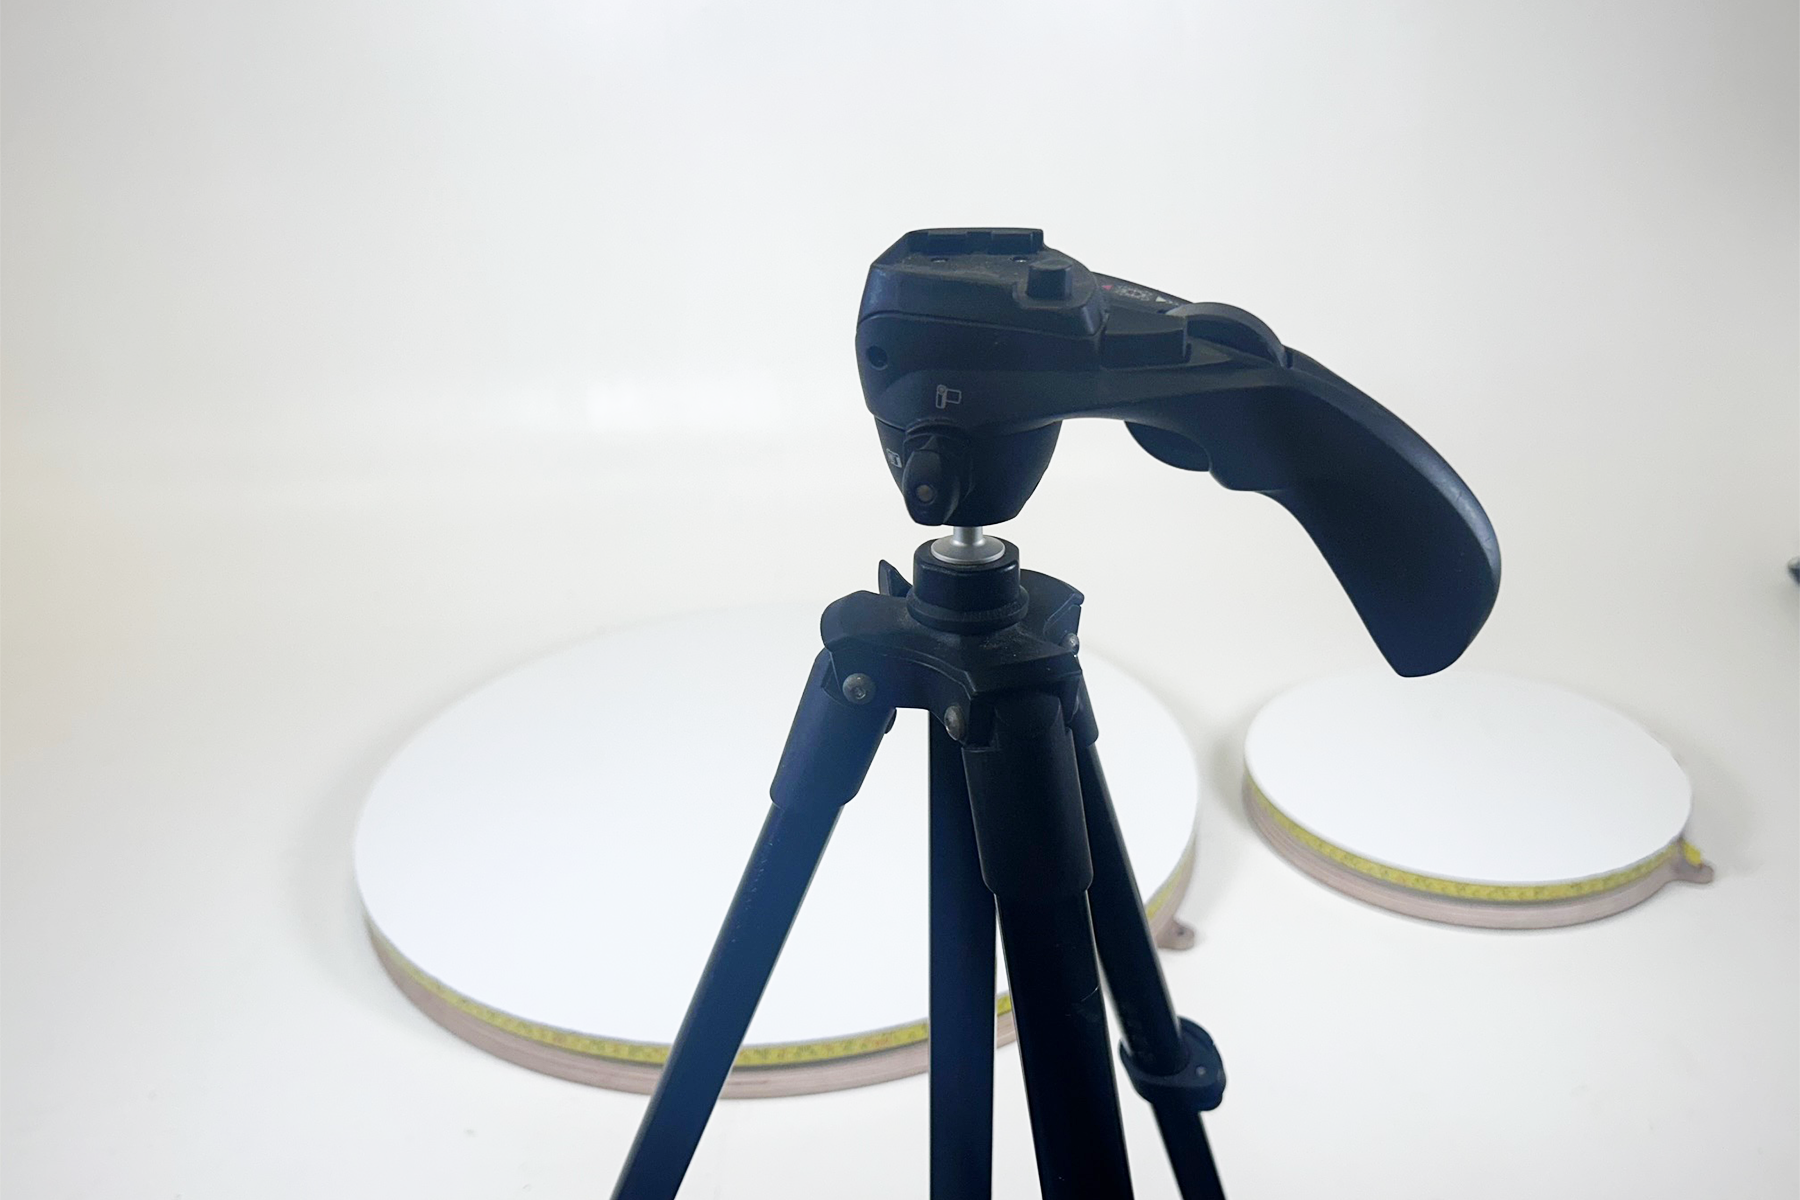
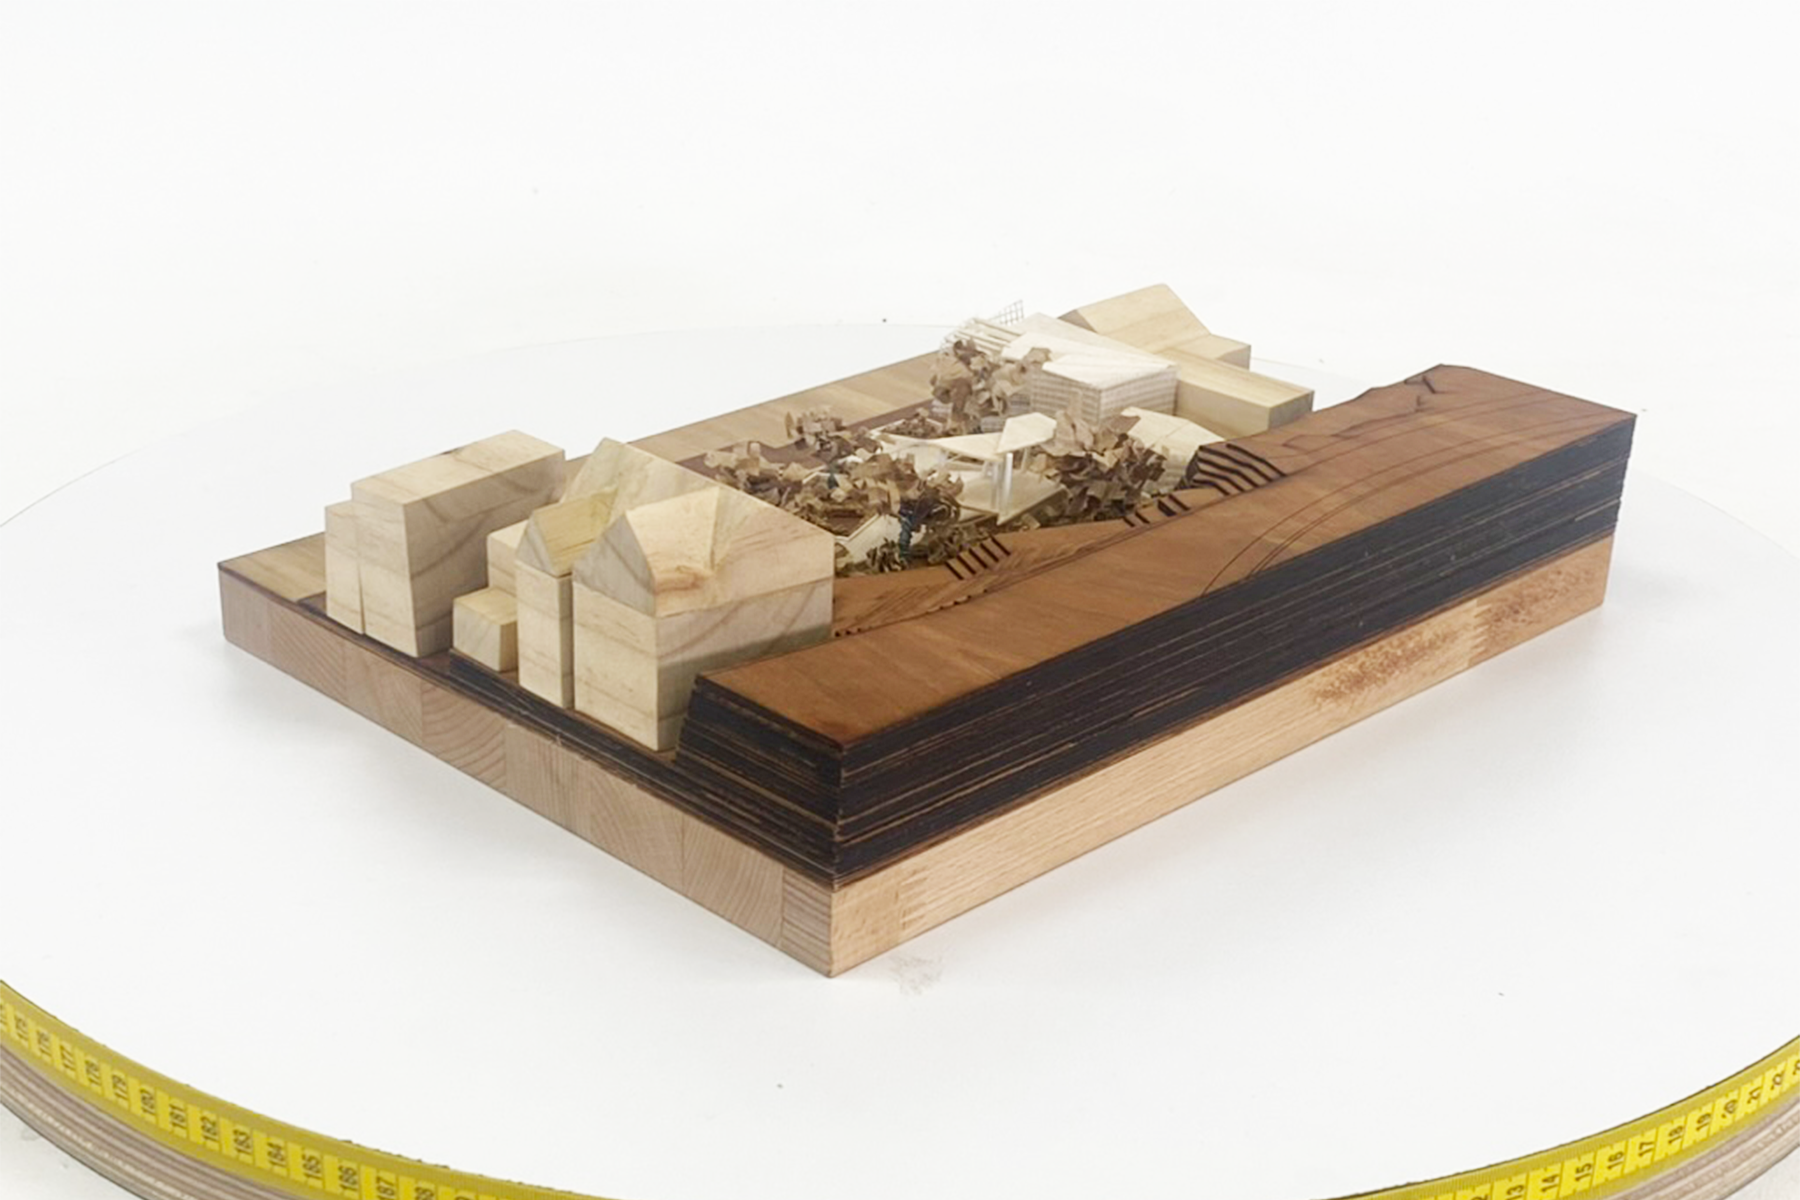
Photogrammetry is a technique used to create 3D models or maps of objects or environments by analyzing multiple 2D images. It relies on extracting geometric information from photographs taken from different angles and then using specialized software to process and stitch them together.

How to create Photogrammetry of your model step-by-step

Step 01

Select your turntable and position it on the photo wall

Photogrammetry 2_01

Step 02

Position lights around your model trying to minimise shadows and create an even light covering the object.

Note: Reflective and translucent surfaces will distort the model, so painting these surfaces if possible or brushing them with plaster or talcum powder may help

Photogrammetry 2_03

Step 03

Set up a tripod for your camera. It is essential to fix the position of your camera to prevent blur or mismatched features that will affect the clarity of your final 360° model. Set your camera exposure, shutter speed and general settings manually so they are fixed for the entire shoot. The photos of your model must be consistent.

Photogrammetry 2_05

Step 04

Set your model in the turntable centre, and frame the image so it is centred, and that all of the object is framed in every photo. Turn the turntable 360° to ensure it stays in frame. The closer the cropping of the object the more detail you will get but be sure to leave some room around the model.

Photogrammetry 01

Step 05

Turn the table (5cm for the small turn table and 10cm for the large turntable) and take a photo. You will be repeating this process to get full 360° coverage of your model or object. For every given tripod position you use try and take at least 20 photos. Ideally each photo will have at least 70% overlap from the last.

Photogrammetry 02

Step 06

Turn the table at increments of 5cm or 10cm (depending on which turntable you are using) and capture your image.

Photogrammetry 03

Step 07

Repeat this process until you have captured the full 360° of your model. Note: If the model or camera moves from its position at all during this process you will need to start again from the beginning.

Photogrammetry 04

Step 08

After your first full rotation. Reposition the camera to shoot from another angle further above or below the model. Start with the front elevation of the model and then position to be looking downward from above in an orthogonal view. Shooting from 1 or 2 positions will work for a flat based model.

Photogrammetry perspective 01

Step 09

Turn the table 5cm or 10cm (depending on which turntable you are using) and capture images until you have captured a full 360° rotation. You can continue to repeat this process from another angle if you want to add further detail to your photogrammetry model.

Photogrammetry perspective 02

Step 10

Choose your software. There are various types of photogrammetry software to choose from.

Photo Catch is a free software you can use that will suit your needs for design and architecture photogrammetry.

There are other types of paid software you can use. Many of these have free trials you can access:

Step 11

Transfer and upload your photos to you given scanning software. Start by attempting to upload all of the photos you captured. If you receive an error message, check your photos for anything that might be confusing the software such as: a finger in the frame, or objects in the background of your images. In most cases its best to capture clean images without blemishes. If there is a blemish in one of your images you can remove in Photoshop.

Final Tips

  • Make sure your background is plain and free from clutter.
  • Objects with texture will capture best. Models or objects that are smooth, shiny, or transparent objects will not capture well.
  • Take photos of the object from all angles, with at least 70% overlap. Take at least 20 photos from each perspective.
  • Set up your lighting and tripod to ensure quality lighting from all sides. Be sure to minimise shadows.
  • You can elevate your object by resting it on an object such as a timber block.