UNSW Making

Working with XPS Foam

Tutorials, guides and more! All the things you need to know to form XPS (blue) foam into wondrous shapes.
IMG_2417.JPG

For this learning module, you will need:

  • Space to create (warning: it's going to get messy)
  • XPS Foam, tools and a selection of sandpaper
  • A dust mask is a good idea

XPS Foam v's EPS Foam

______________________________________________________________________

Know your foams!

Extruded polystyrene insulation foam or XPS foam like blue foam is manufactured through an extrusion process which involves melting together the plastic resin and other ingredients. The liquid formed is then continuously extruded through a die and expands during the cooling process. This produces a closed cell rigid insulation.

Expanded polystyrene insulation foam or EPS foam like fruit and veg boxes is manufactured using a mould that contains small foam beads. Heat or steam is then applied to the mould, which causes the small beads to expand and fuse together. This manufacturing process does not form a closed cell insulation as there can often be voids between each of the beads where they are not touching one another.

We use XPS foams for modeling because you can create a smooth surface without voids. It’s easier to shape and sand. There is several different types of XPS foam available and it usually comes down to personal preference.

What do we use foam for?

______________________________________________________________________

Common uses

XPS foam is commonly used for model making because it is easily shaped with simple tools. It's a really useful for quick form studies. Making a tangible item in 3D helps you to understand the look and feel of a product.

In the built environment foam can be used for quick massing models to help you quickly understand the mass/form of the building you are designing or how it fits into it's environment.

Foam also makes quick and easy moulds for casting and forming.

XPS Foam Uses

Joining together your foam

______________________________________________________________________

How do I glue together foam to make bigger pieces?

double sided tape

Double Sided Tape

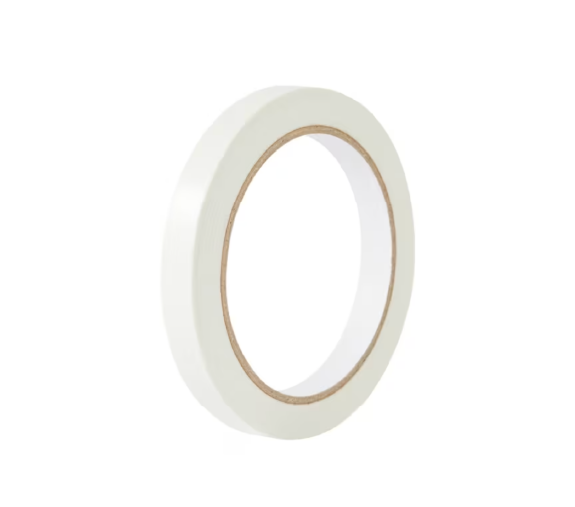
Double sided tape works surprisingly well to join foam.

When using tape, avoid placing it too close to areas that will be carved or sanded later if you want a smooth, seamless join.

The two surfaces must be smooth and flat so they fit closely together. If you’ve sanded them, make sure to remove all dust—vacuuming with a brush attachment works best.

For the strongest bond, it's ideal to use the slightly 'skinned' surface of the sheet as it is.

Gorilla Glue

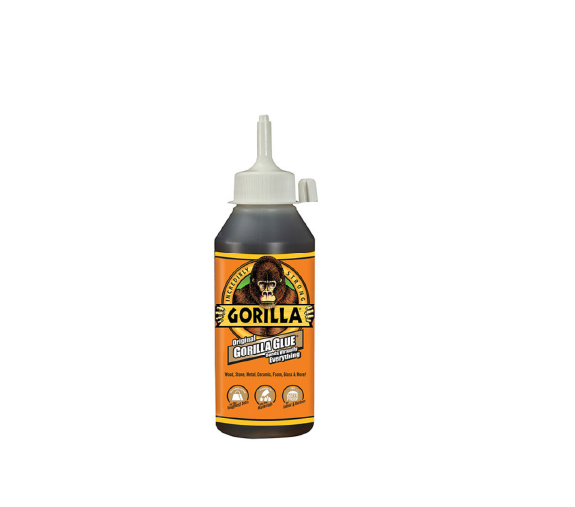
Gorilla Glue is a one-part polyurethane glue that expands with moisture.

Steps:

  1. Use a spray bottle to lightly mist both surfaces with water.
  2. Apply a small amount of glue to one side only—thin and even is best.
  3. Clamp the pieces together

Clamp the pieces together if possible (using wood to protect the foam). If clamping isn’t practical, use masking tape or hold down with a weight.

The Gorilla glue expands a lot—up to 3–4 times its volume. You may need to adjust them while it cures. Curing takes a couple of hours. Once set, it can be cut and sanded. It bonds strongly and is fairly easy to sand compared to other glues.

Gorilla Glue
Spray adhesive

Spray Adhesive

Spray adhesive should be applied to both surfaces and it’s best to wait about 30 seconds before pressing the pieces together firmly. Like all contact glues, the bond is instant but takes a day or two to fully strengthen.

As with double-sided tape, the surfaces must be flat, smooth, and dust-free for a strong bond.

Other Resources

___________________________________________________________________________________________

Resources to enhance your foam making knowledge!


Here's some other resources we've found on youtube that you might find helpful.


Some useful websites

sanding-formers.jpg


Forming techniques


Shaping_a_surfboard_blank3_medium.jpg


Shaping a surf board


Hot Wire Cutters


Hot wire cutters FAQ


Quick tips for sculpting


Quick tips for sculpting


Check out our Pinterest pages for more examples of XPS foam models

blue foam pinterest.png
Massing models.png


Get yourself trained!

If you want to learn and/or increase your skills in forming foam don't hesitate to come and chat to a friendly Makerspace staff member. Make sure you complete the Badges that the UNSW Makerspace Network has for you!

Related Badges