


All UNSW staff and students have access to our 3D Printing hub for coursework, research, and personal projects. Coursework will get priority, and we often delay personal projects until the end of term. The 3D Printing hub also takes a break in December/January for the University Shutdown period.
3D printing pricing varies depending on the material and technology, It's best to check out our pricing guide for the most up to date prices.
There are also some courses that arrange for prepaid prints within our hub, so make sure you write down your course code when you're completing the form for coursework.
Currently our 3D Printing network includes Hubs all across UNSW campus, you'll get instructions on when and where to pick up your prints via email. If you have more questions about 3D printing techologies it's best to go to the Digital Fabrication Lab if you're an ADA student, or head to the Engineering 3D Printing Hub for everyone else.
If you've sent a print and it's been rejected make sure you're aware of the following requirements and design considerations

If the assignment criteria are not fulfilled we cannot send your print
If this part is for an assignment please double check your assignment rubric before your send your files to the hub. Depending on the course you may need to add extra 3d printing instructions in the notes section, or you may need to submit your files for approval to your course coordinators instead of directly to the 3D printing hub.
Unfortunately because it's for an assigment we can't tell you the answers directly, you have to figure it out on your own!
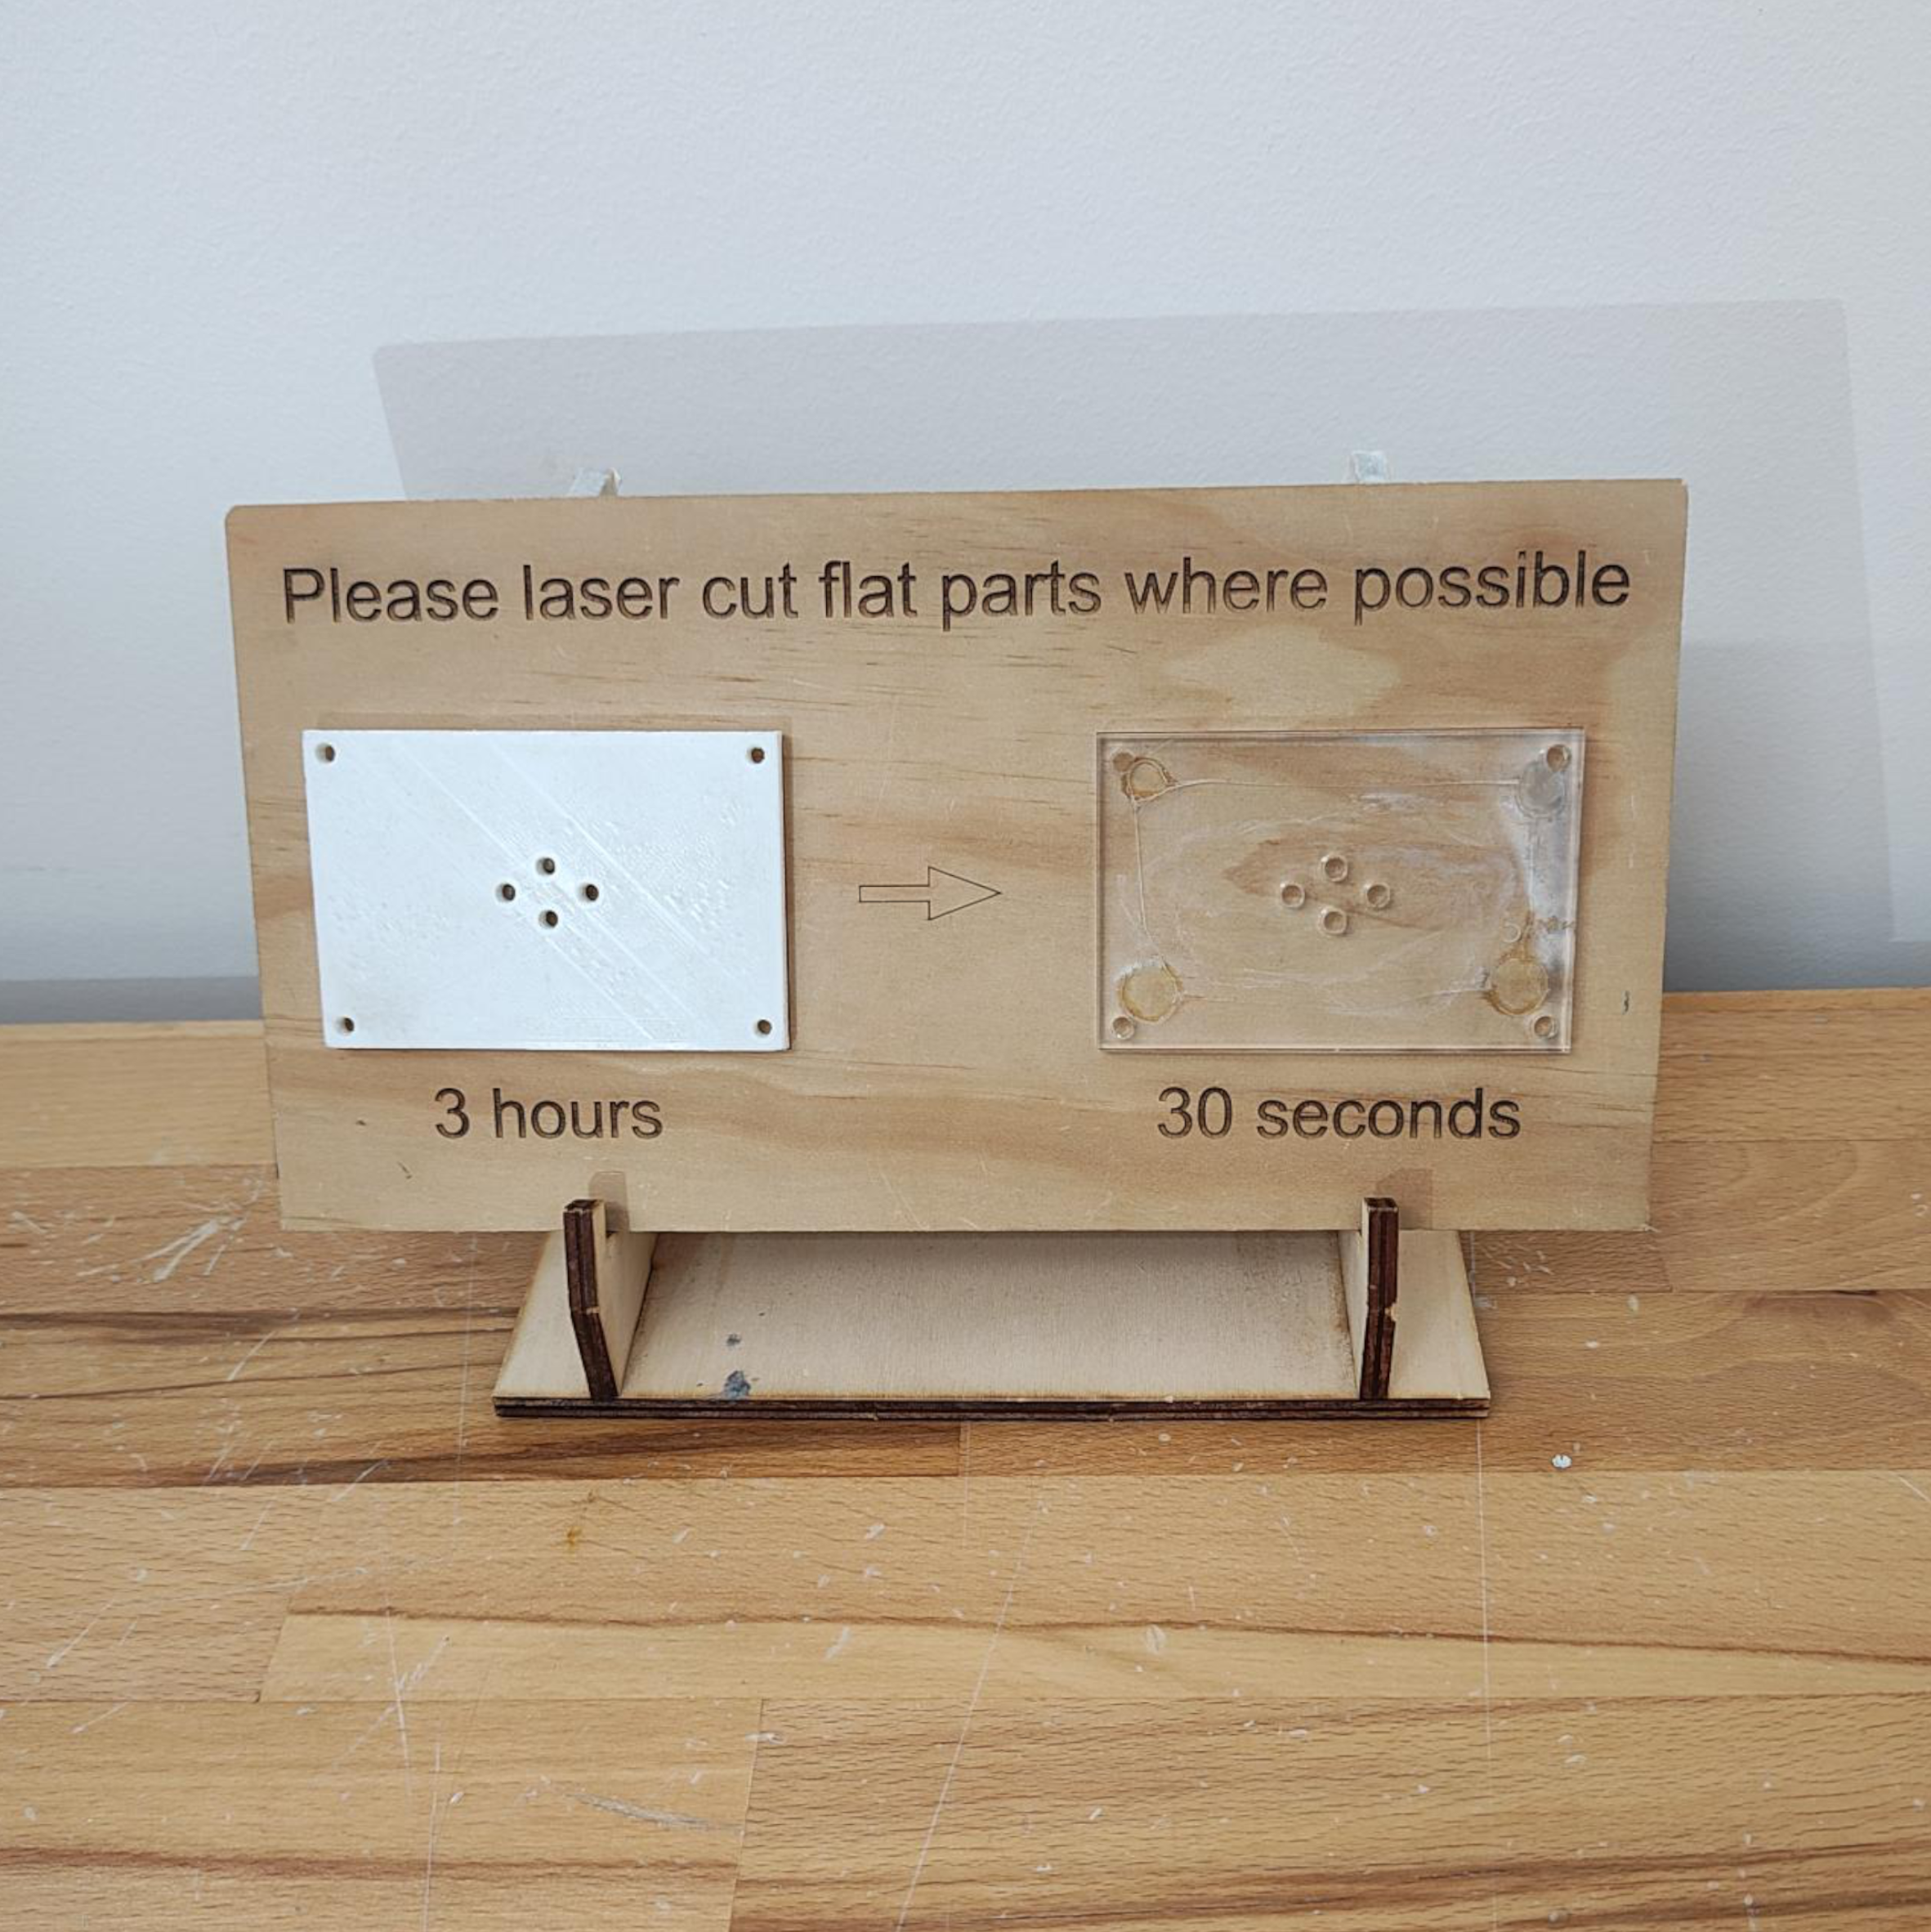
If a part is flat send it to a laser cutter instead.
Due to the volume of prints we receive we will reject any flat parts, or box shapes that could be assembled using a laser cutter instead. Laser cut parts are 100x faster than FDM 3D printed parts of the same size, and are often a lot stronger because they are cut from a solid material instead of layers glued together.
Please talk to our Makerspace staff if you're having trouble figuring out how to modify your design, and refer to Makercase if you'd like a quick way to design boxes for laser cutting.

If your print is too large it will be rejected.
There are some cases where a print may fit into our printer but because of the large volume or unusual geometry it is still rejected. The larger a print the longer it will take to print and the more likely it is to fail. If your print will take longer than 24 hrs to print it will be rejected and you will have to chat to our staff to justify why you need such a large print.
The precise build volume limits will change depending on the printer but in general any print larger than 197*215*200 mm in volume will be rejected.
If your print has been rejected it could be because you haven't considered the following design tips, which would result in a failed print, or a part that breaks quickly.

Take note of some of the things that may affect your parts when printing as you may need to make adjustments to your design to incorporate these features.


For functional parts, it is important to consider the application and the direction of the loads. For example, FDM parts are much more likely to delaminate and fracture when placed in tension in the Z direction compared to the XY directions (up to 4-5 times difference tensile strength).

Because FDM printing nozzles are circular, corners and edges have a radius equal to the nozzle size. This means that these features are never perfectly square.
For sharp edges and corners, the first layers of a print are especially important. With each print layer, the nozzle compresses the print material down to improve adhesion. For the initial print layer, this creates a flare often called an “elephant's foot”. Protruding outside the specified dimensions, this flare can impact the ability to assemble FDM parts.

The best way to avoid support for holes is by changing the print orientation. Removal of support in horizontal-axis holes can often be difficult, but rotating the build direction 90° eliminates the need for support. For components with multiple holes in different directions, prioritize blind holes, followed by holes with smallest to largest diameters and then the criticality of hole size.